Skip to main content
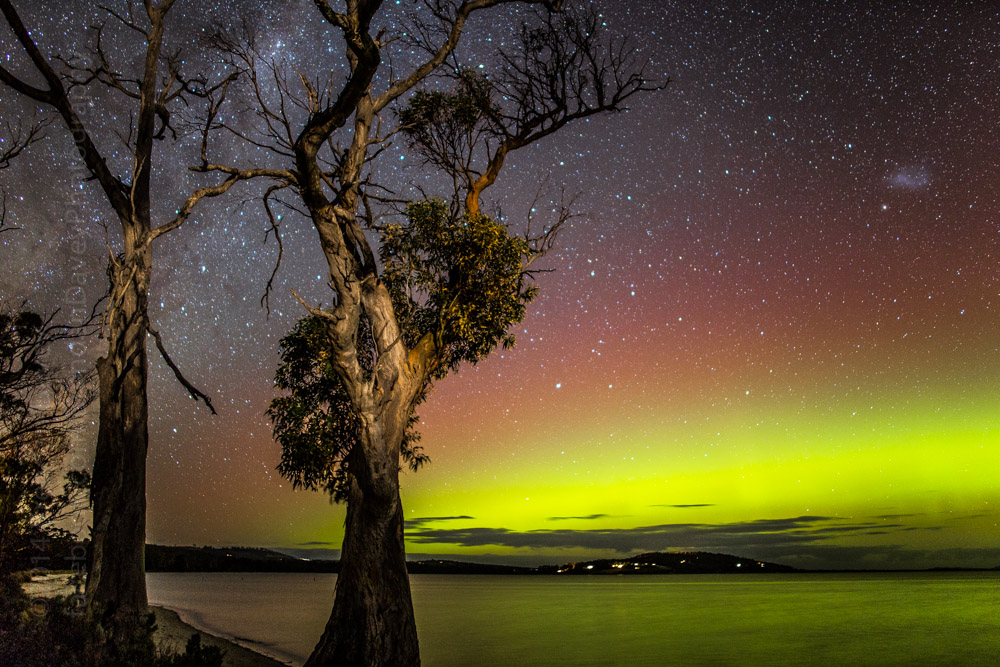
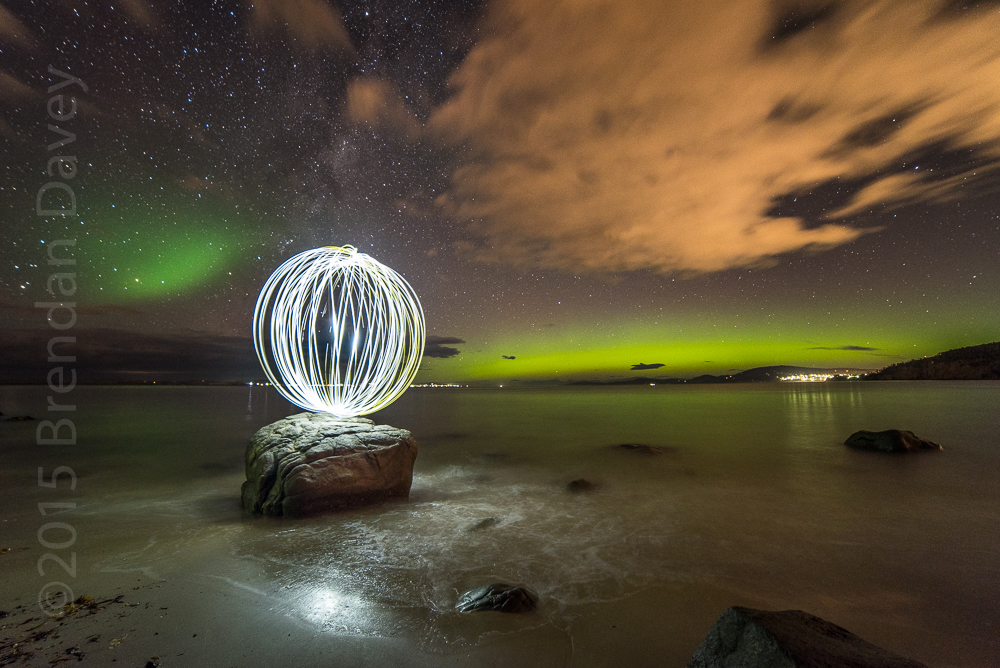
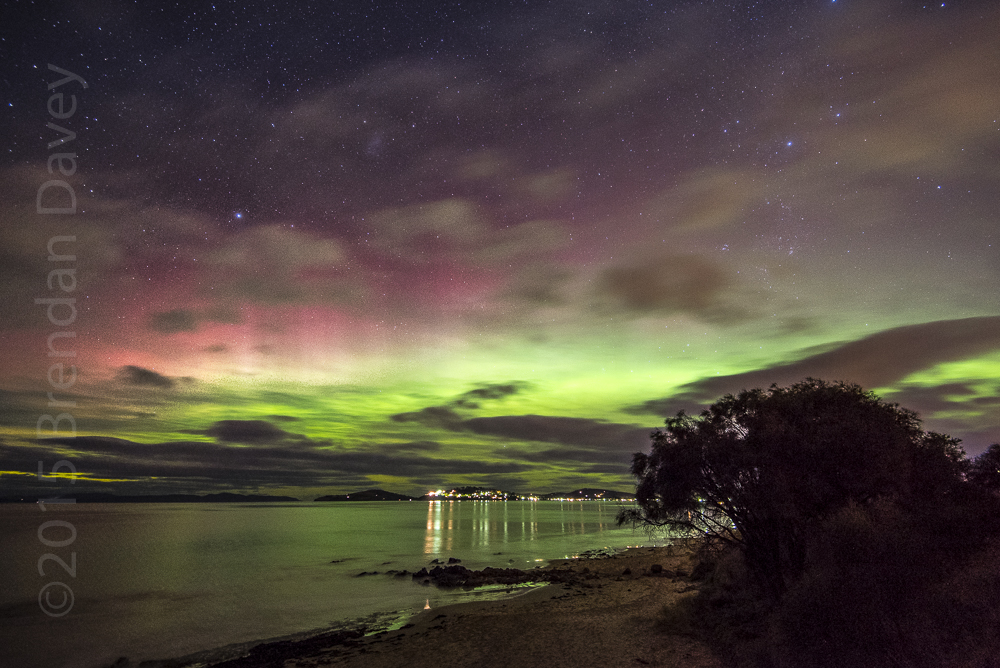
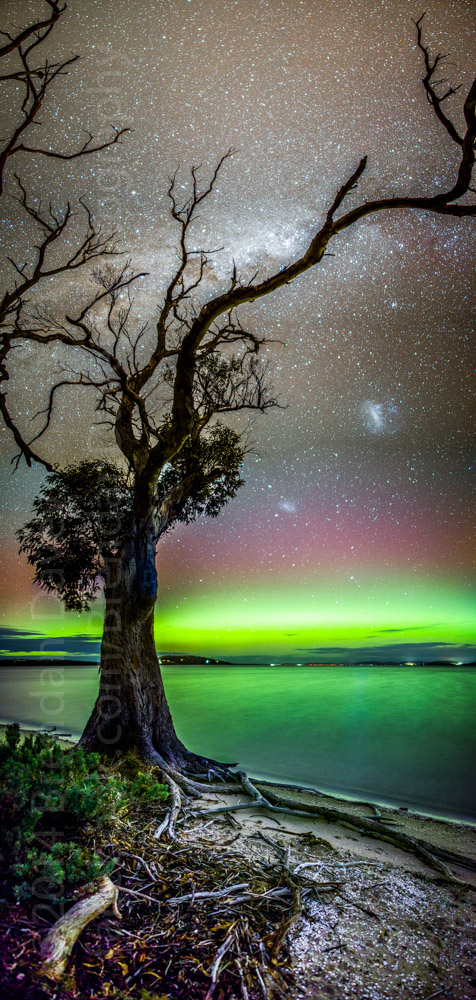
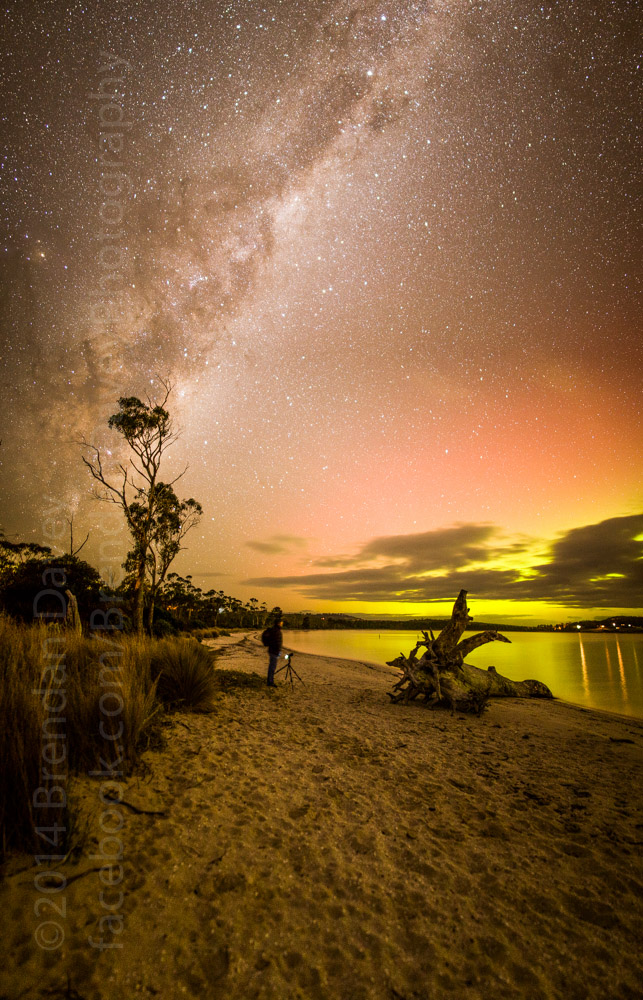
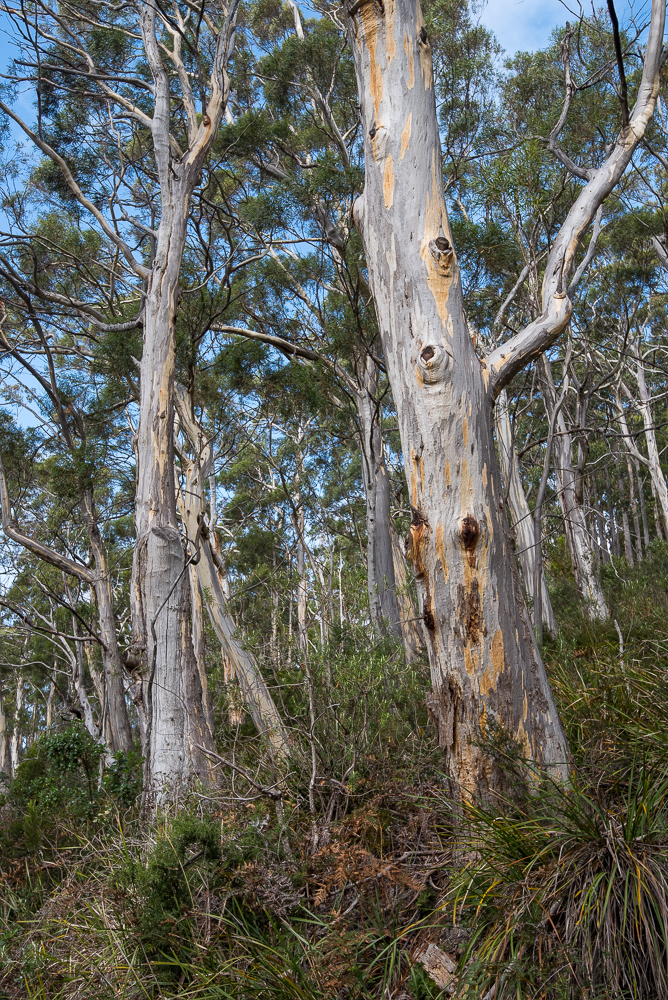
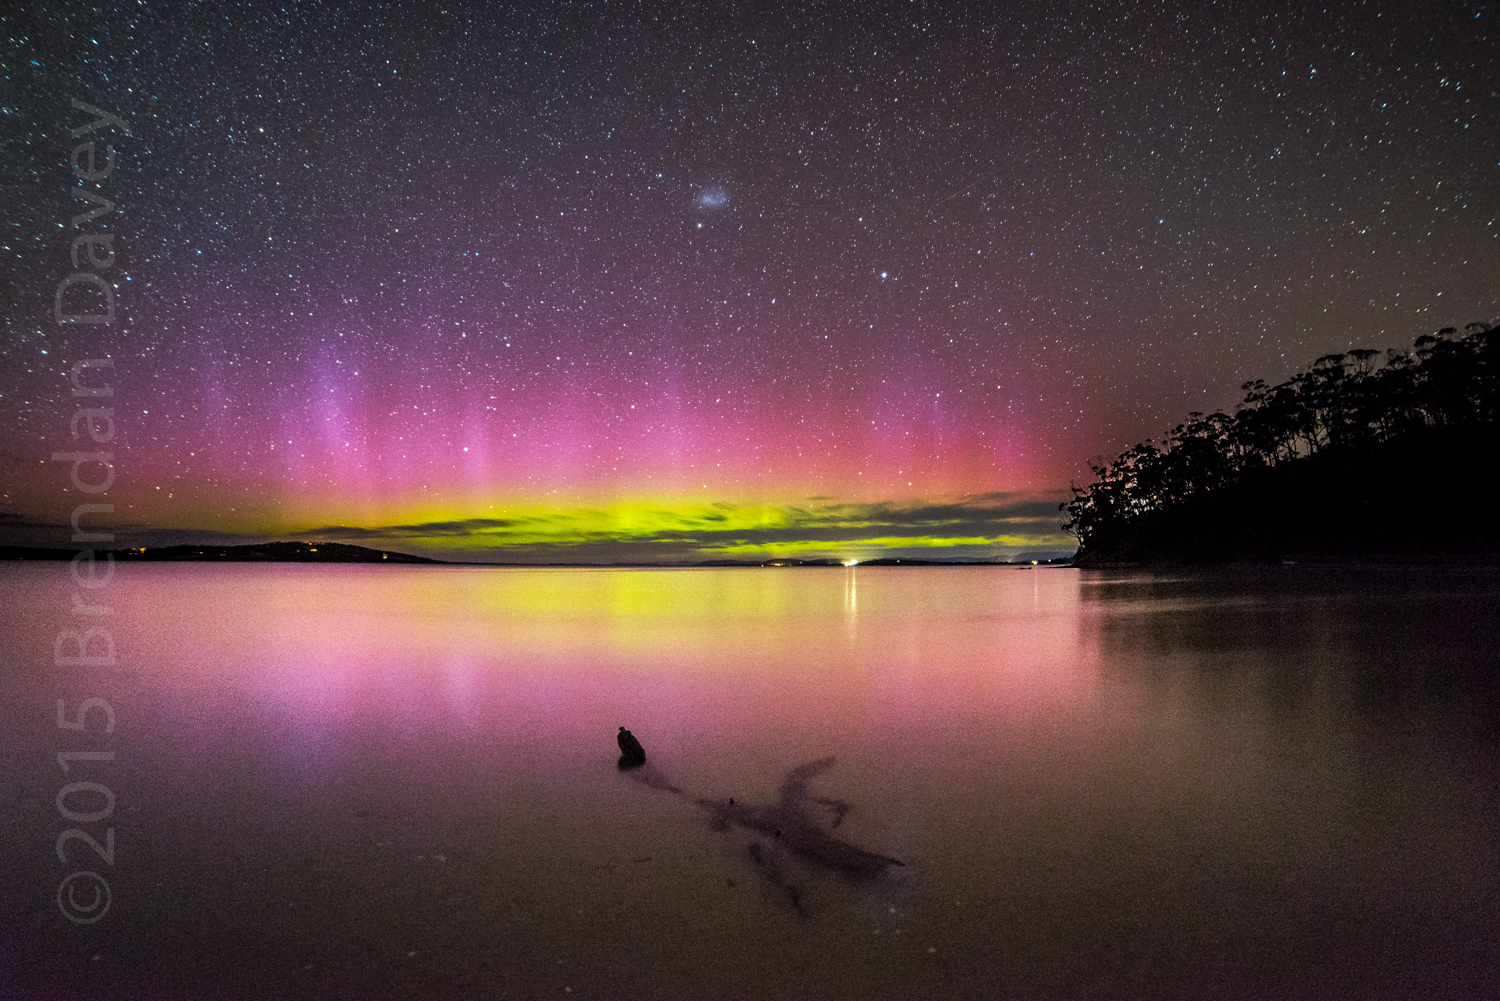
Two Gums & Aurora
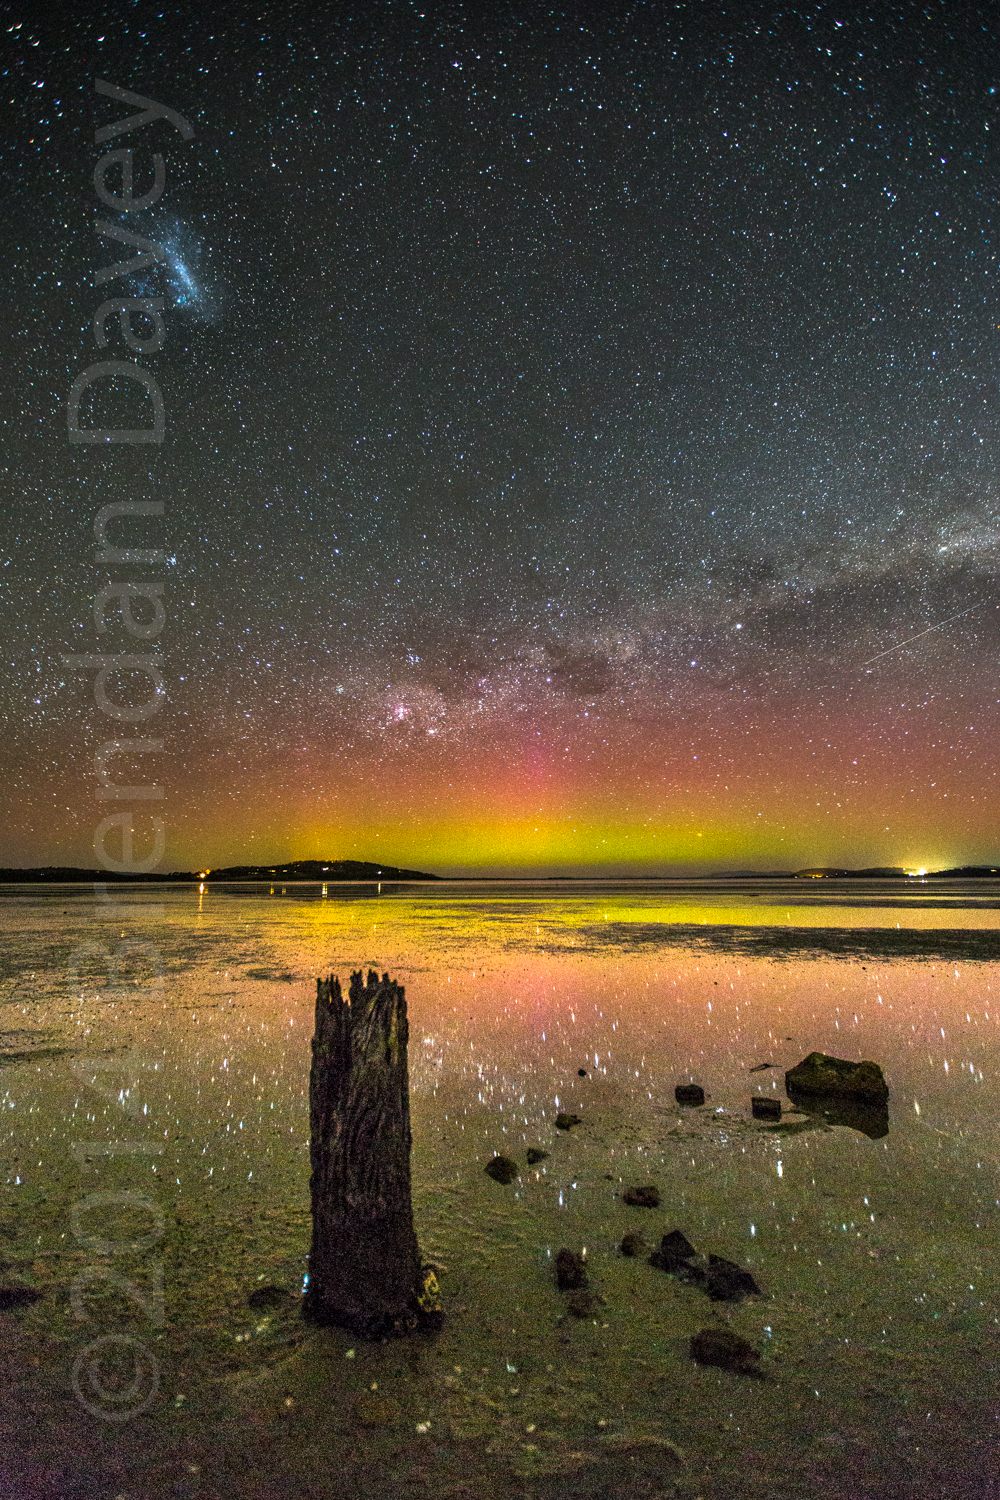
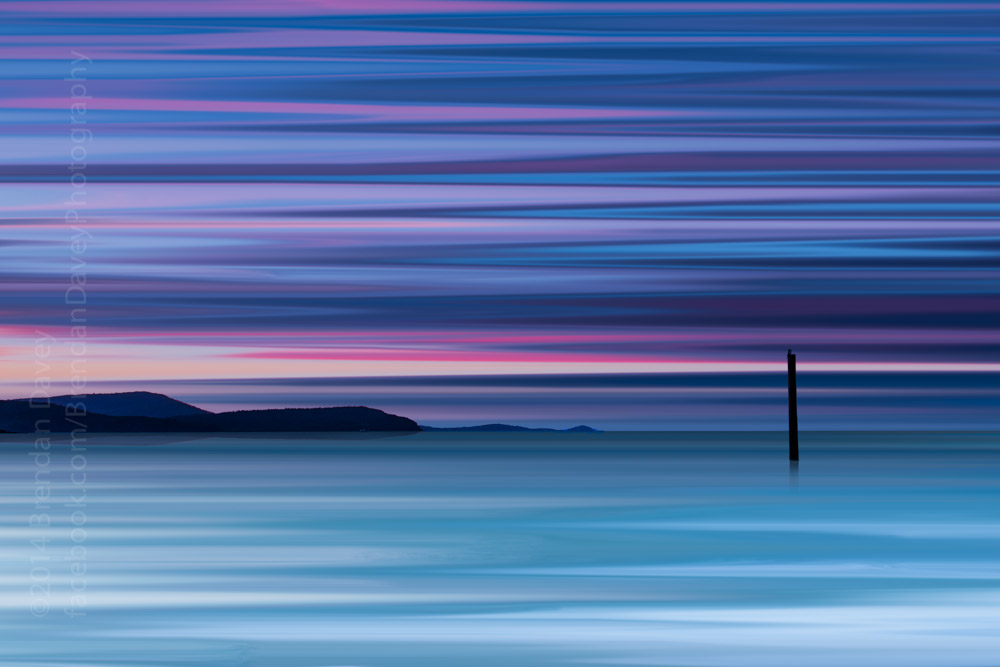
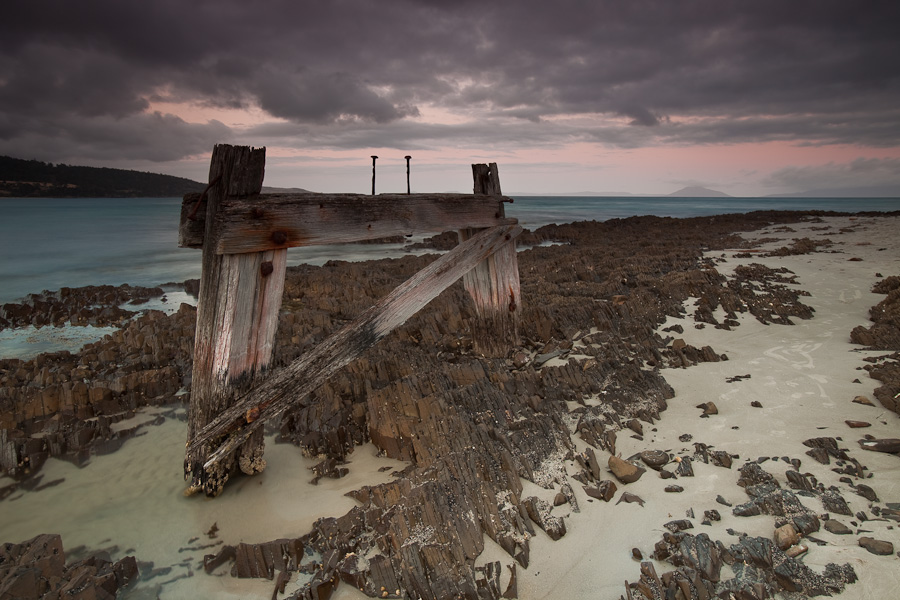
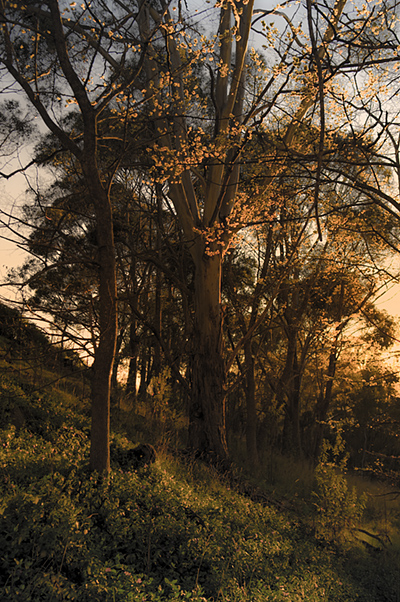
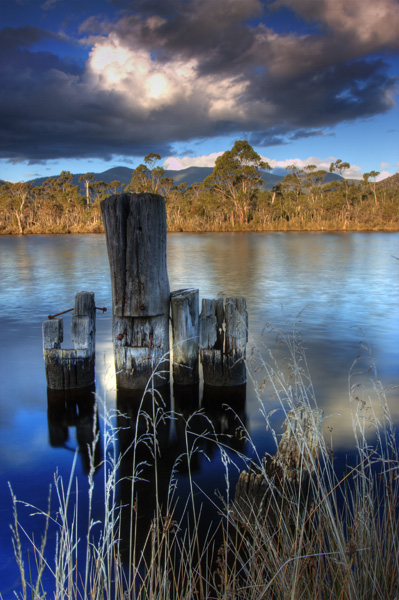
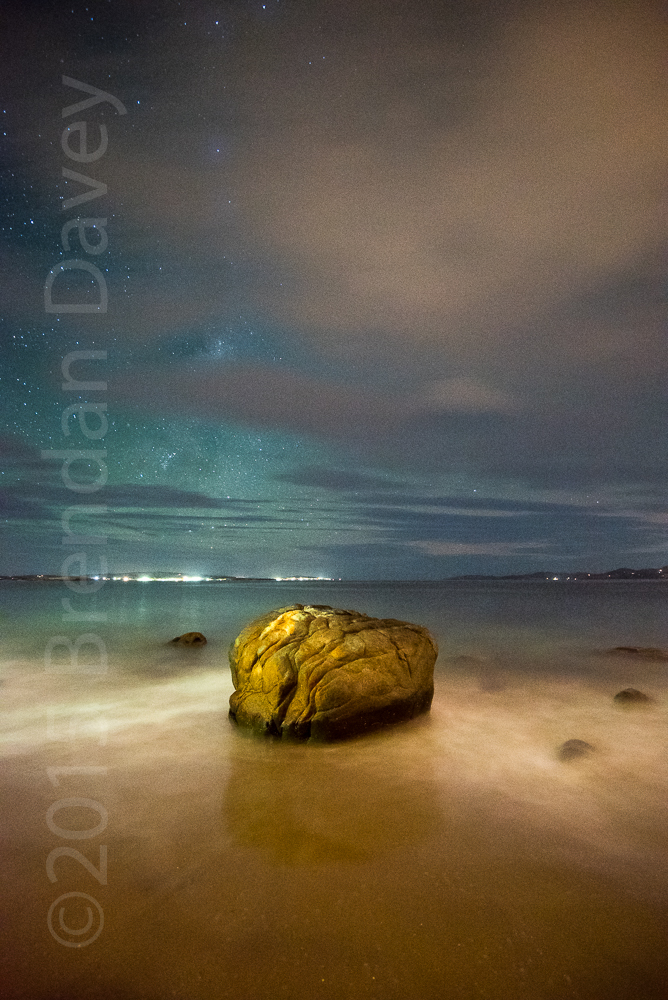
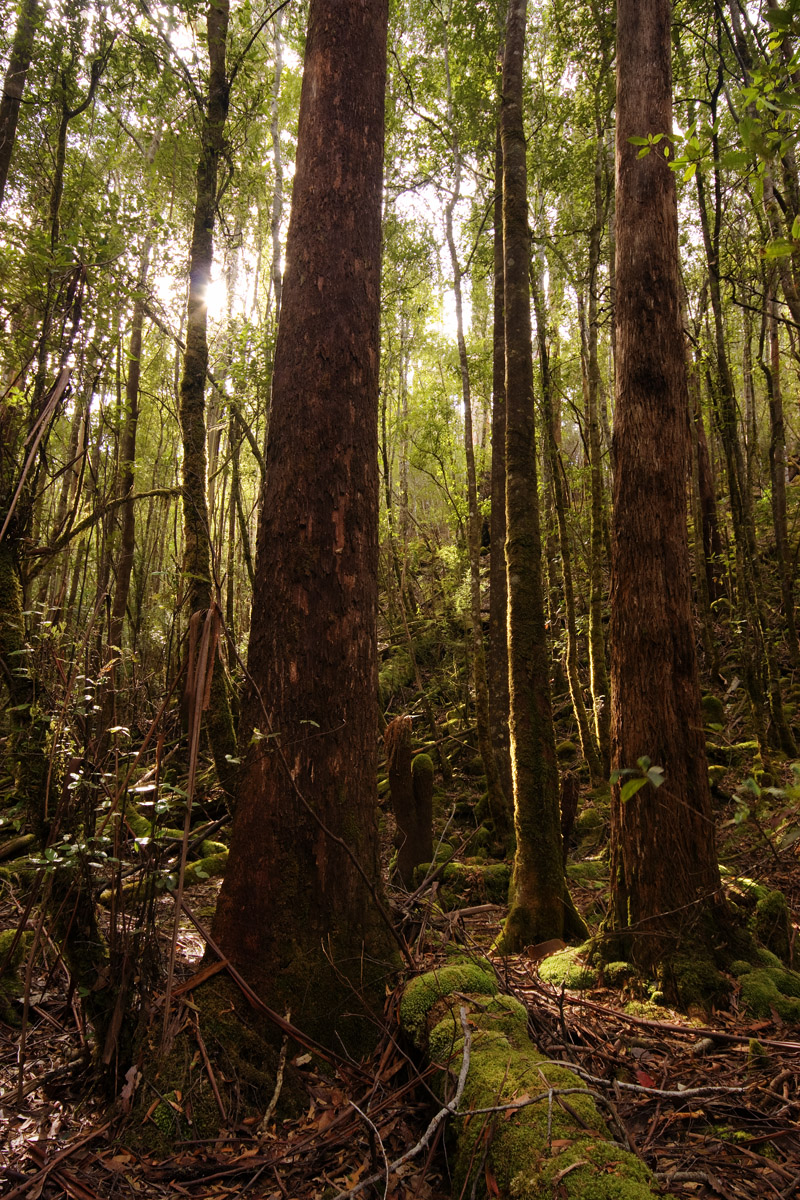
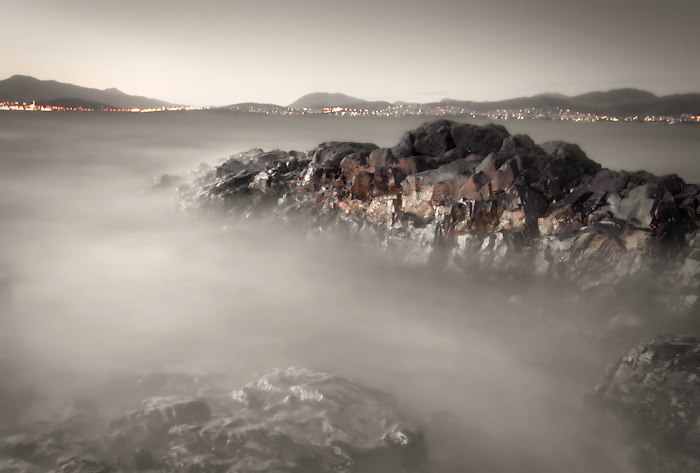
Lone Peir Stump
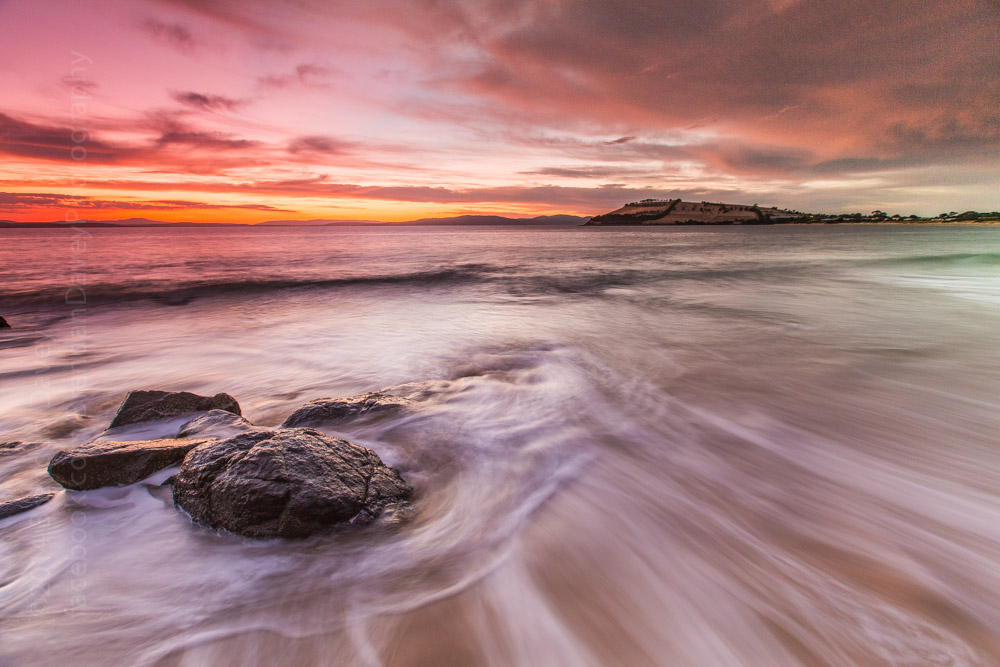
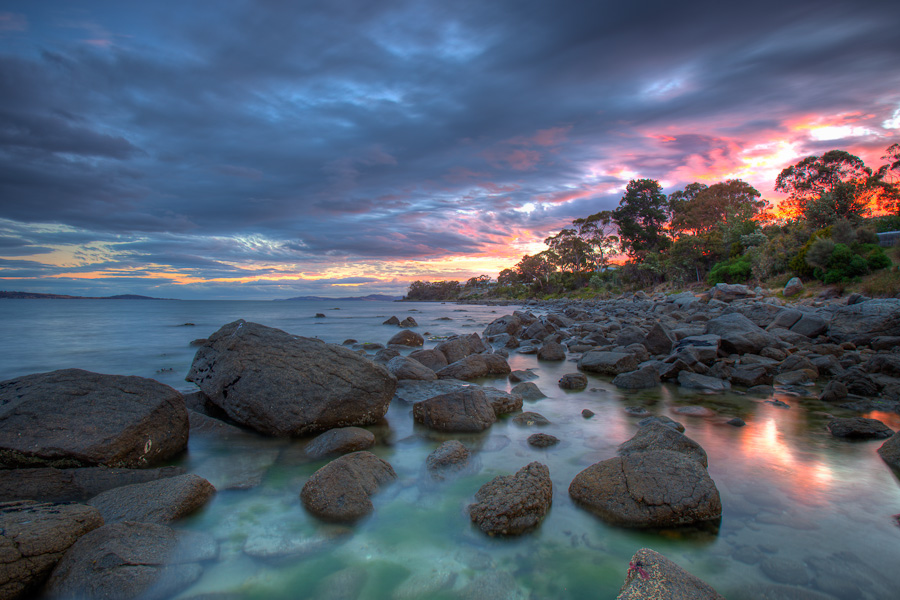
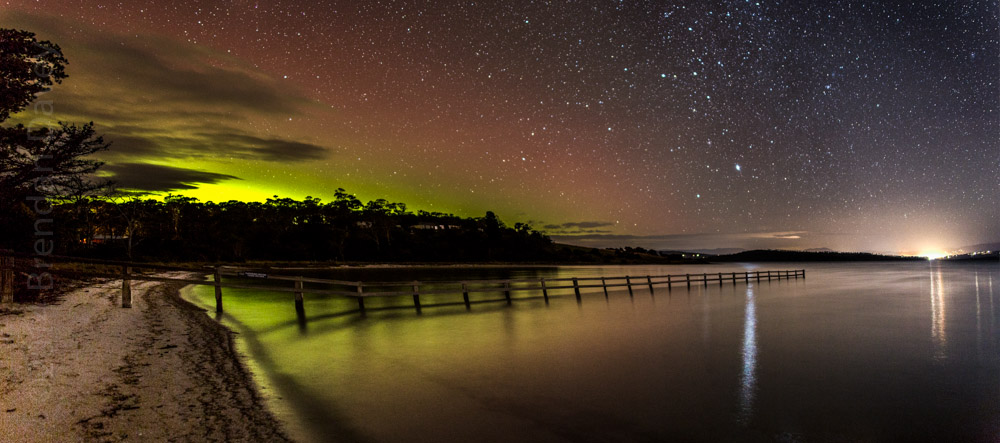
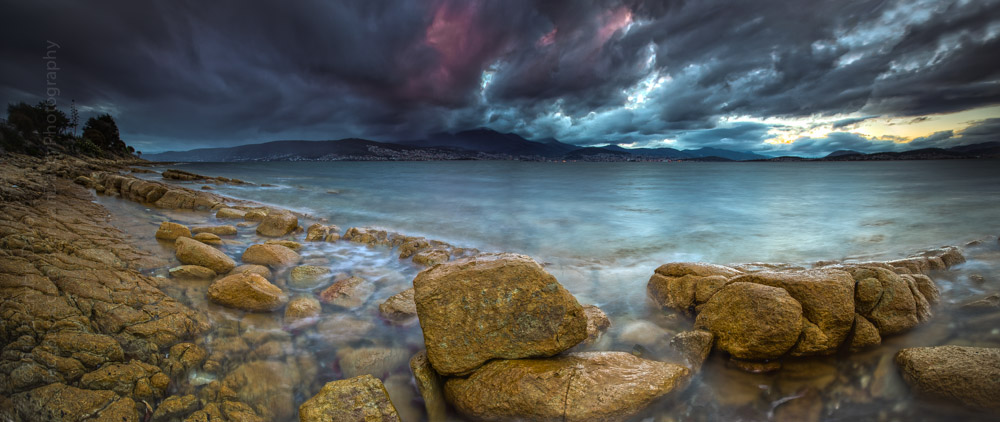
Lauderdale Ralph’s Bay
‘Stick Hut’, Storm Bay, Tasmania.
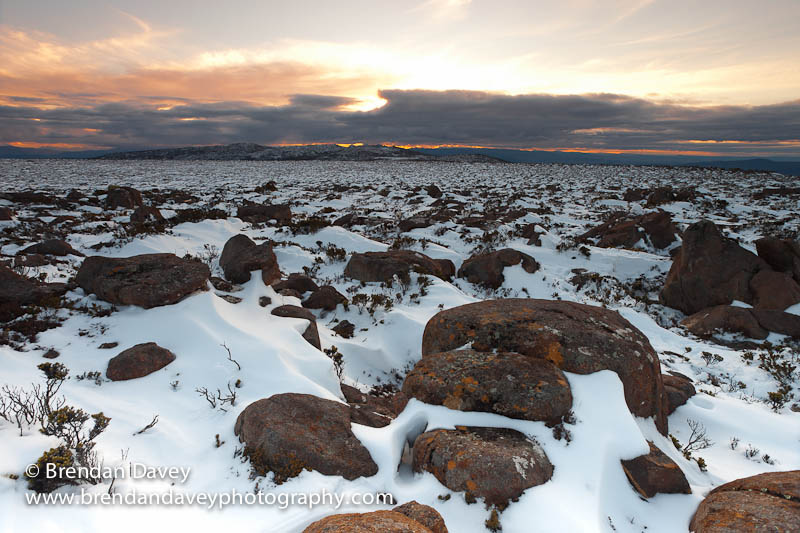
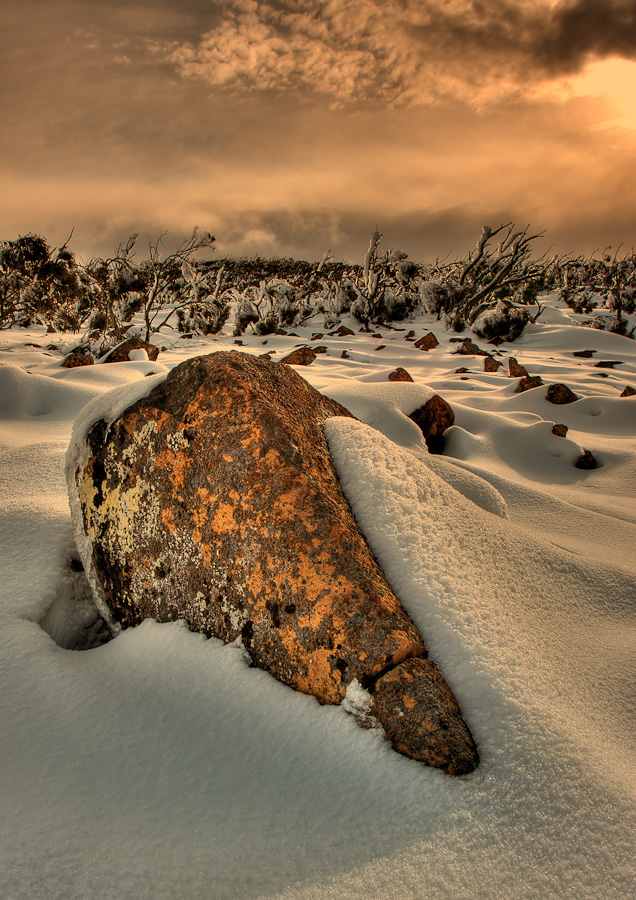
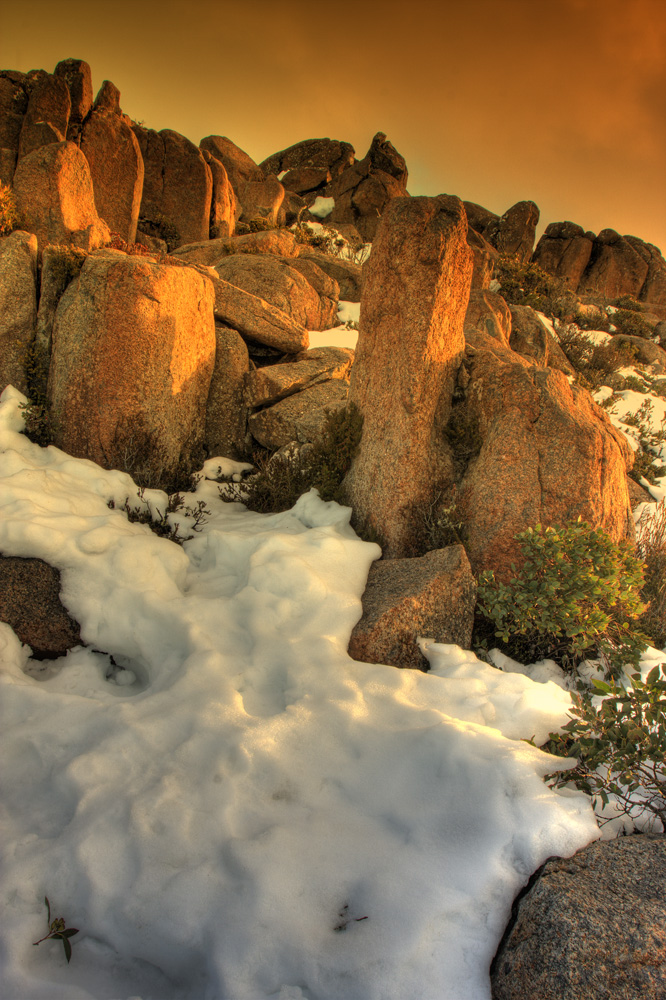
Mt Wellington in the snow.
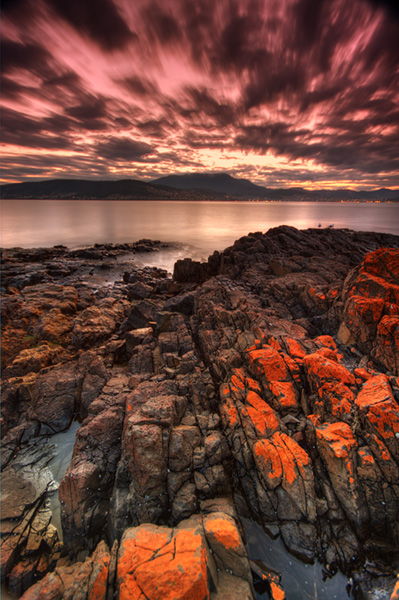
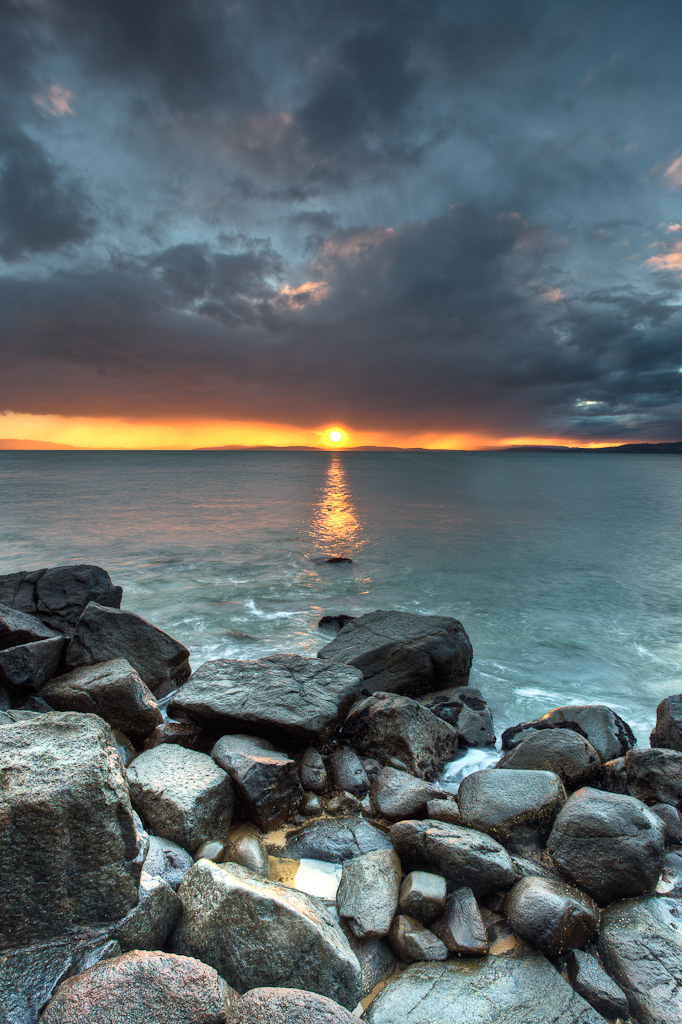
Cremorne at Sunrise HDR
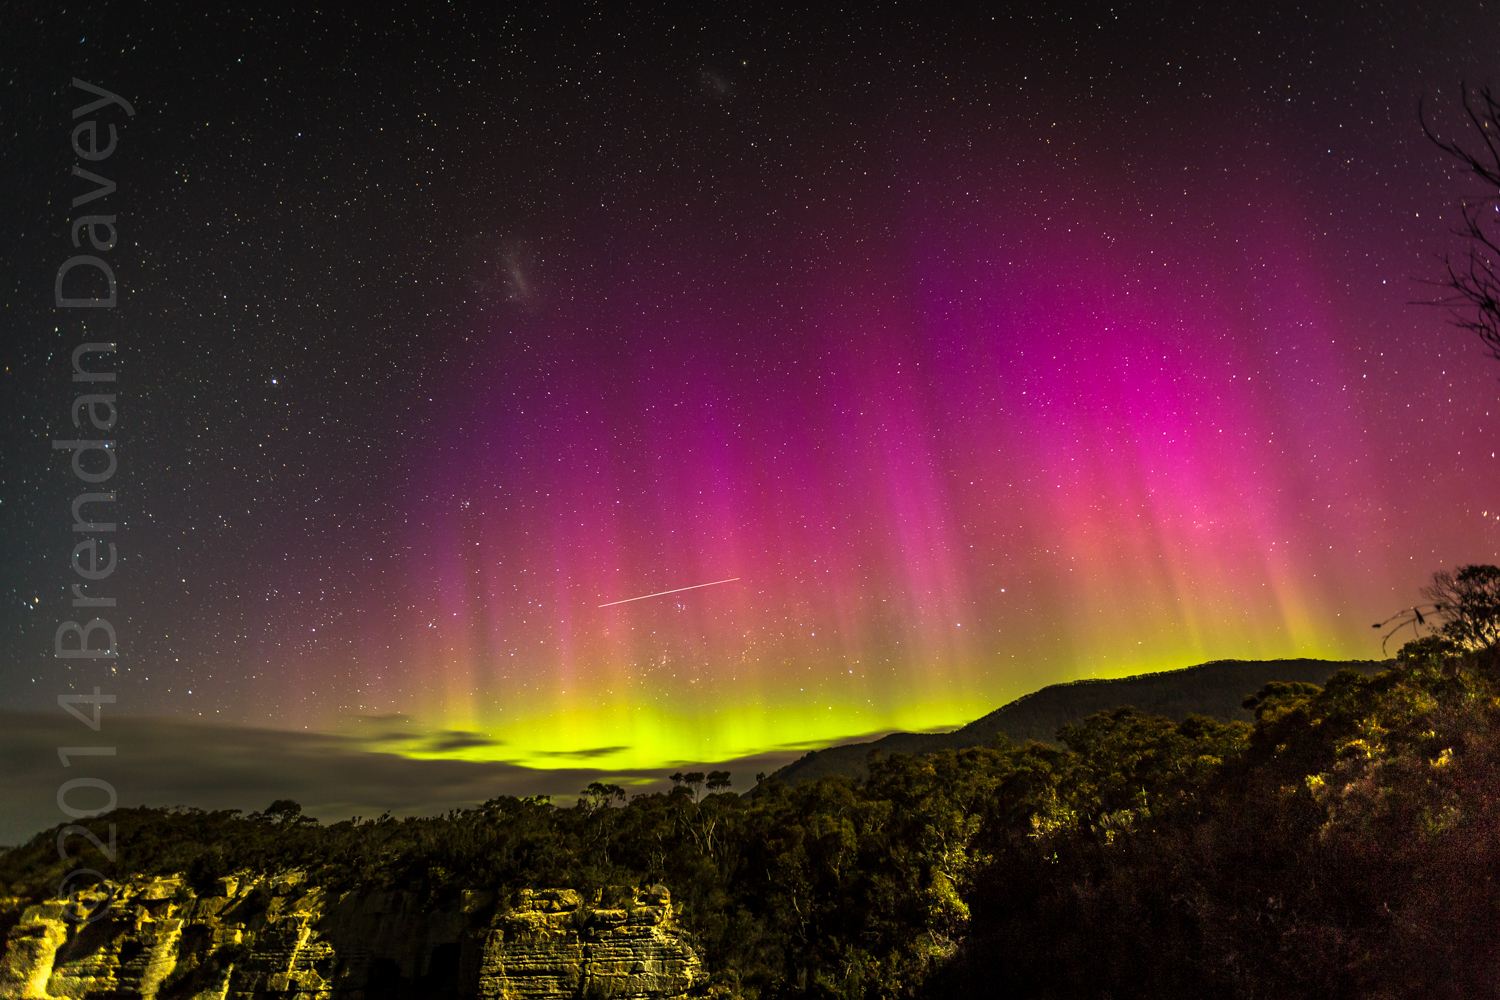
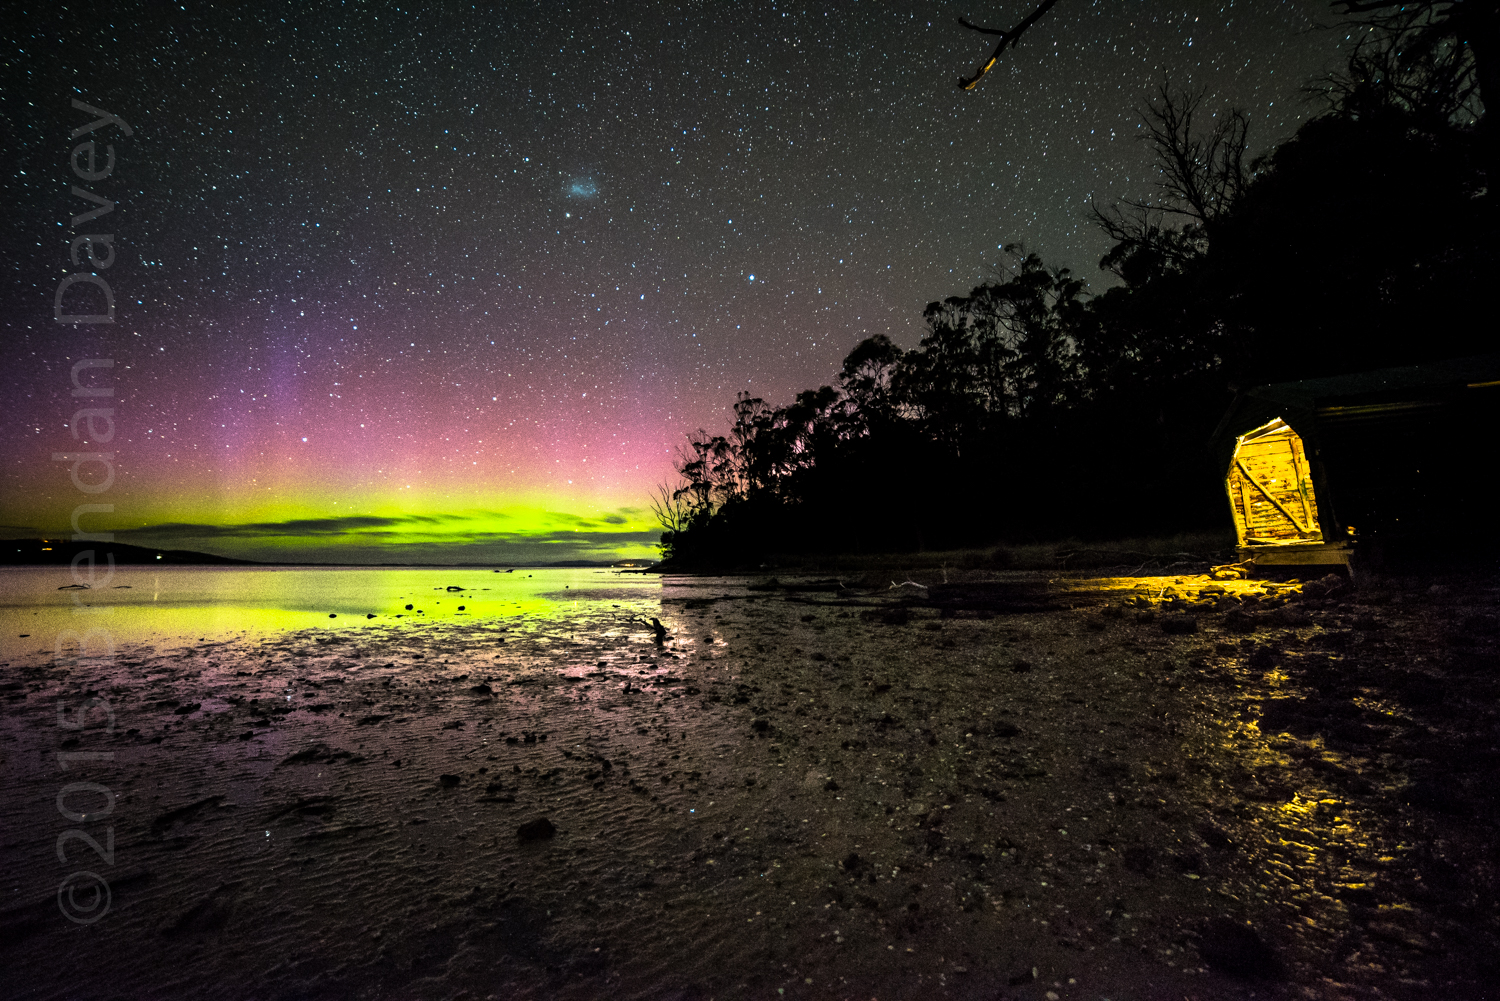
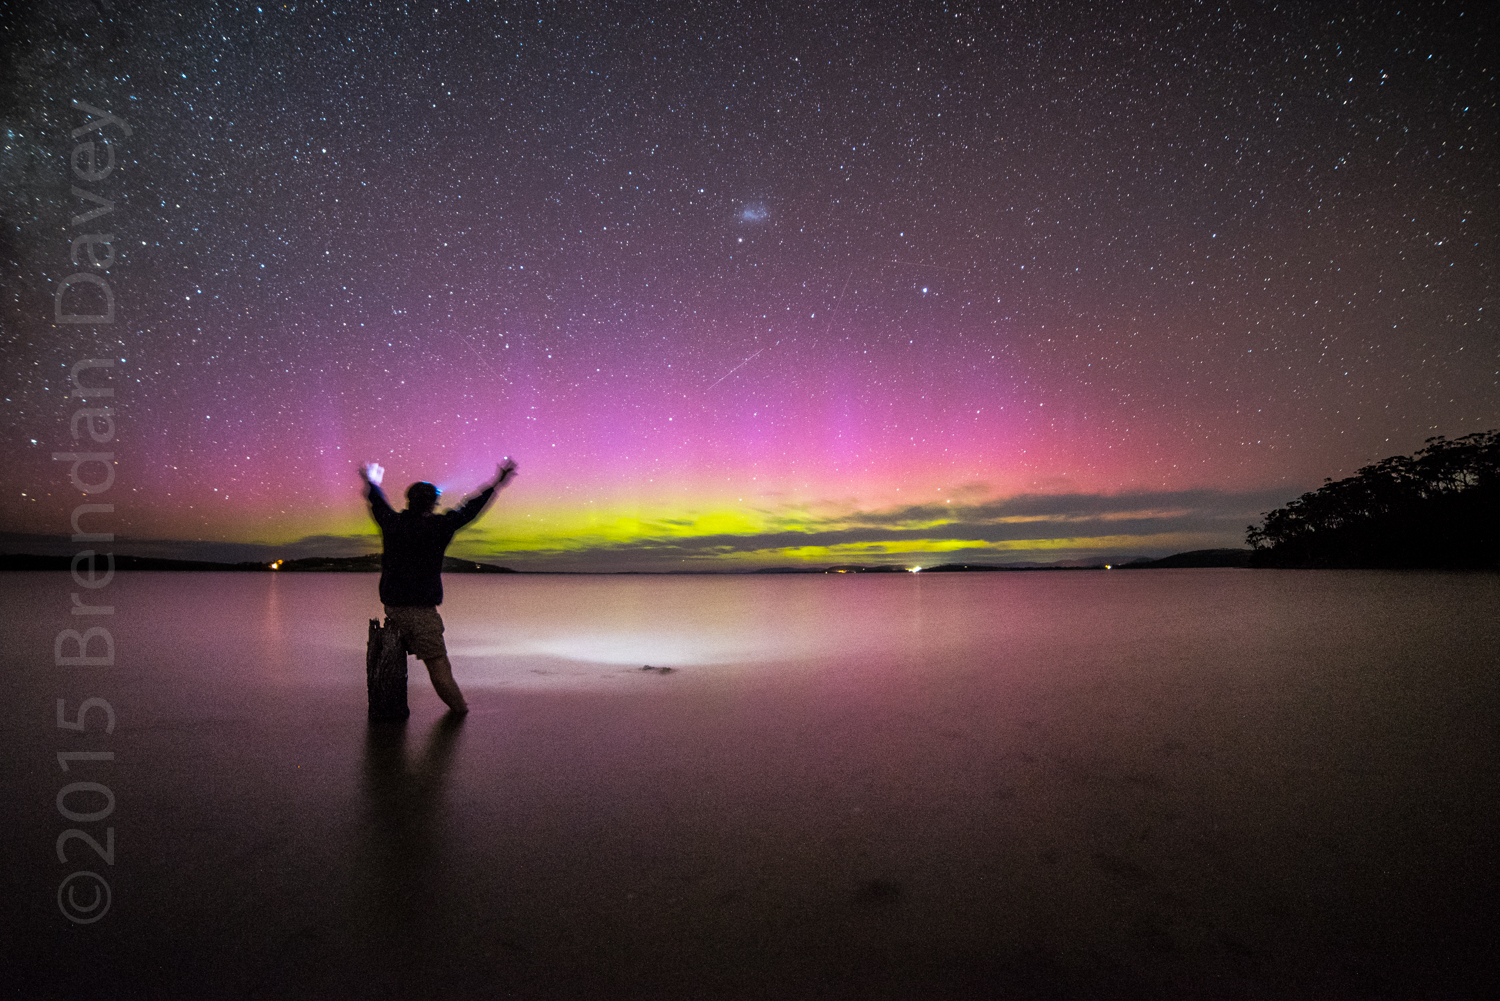
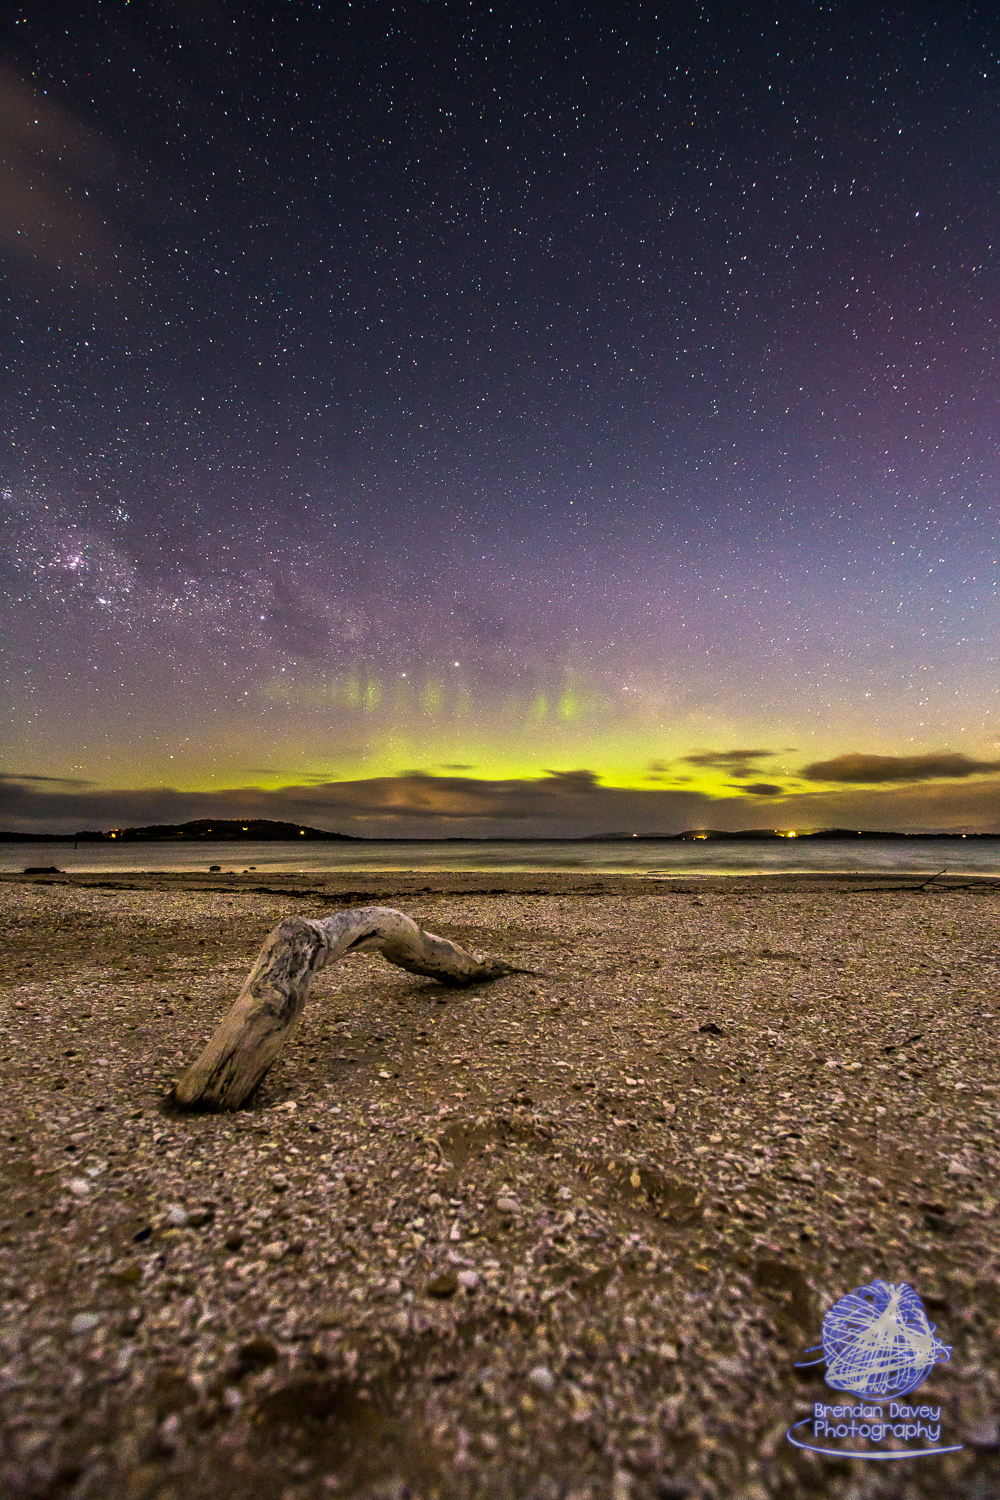
‘Working Late’, Aurora over Mortimer Bay, Tasmania.
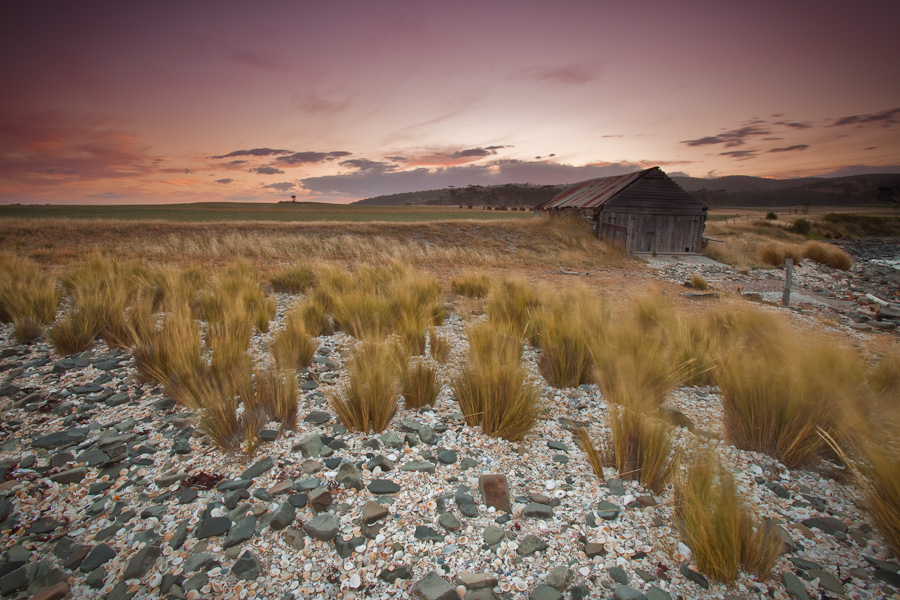
The Abandoned Boat Shed, Kelevdon Beach, Tasmania
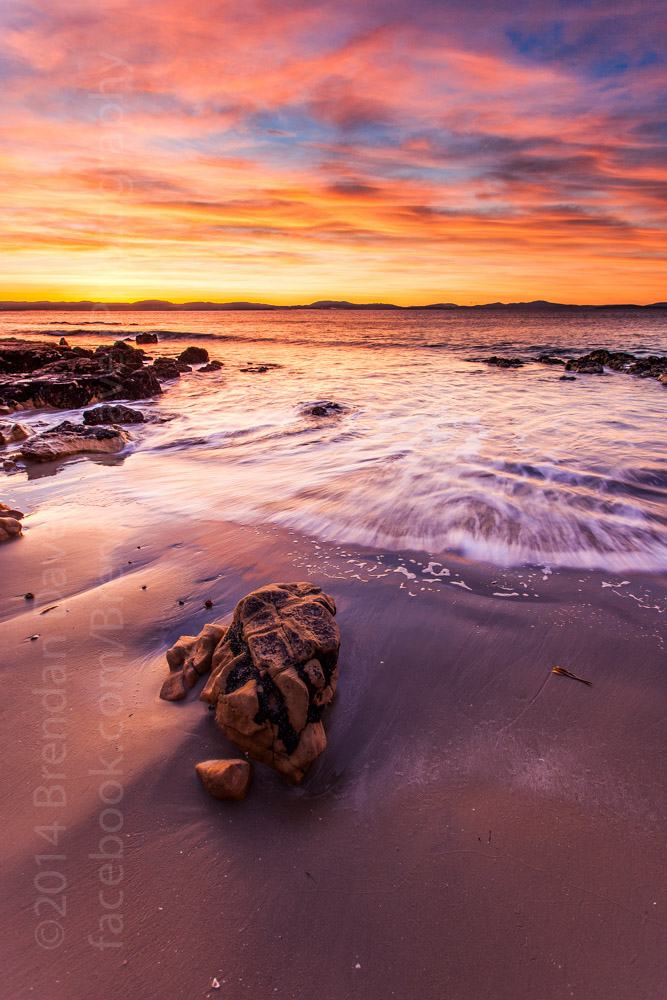
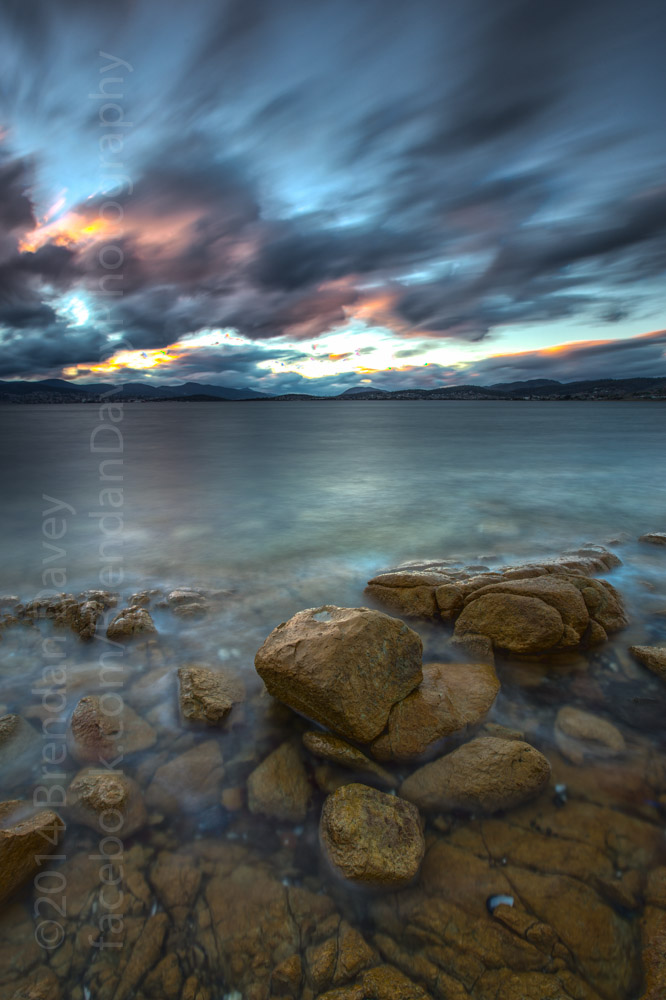
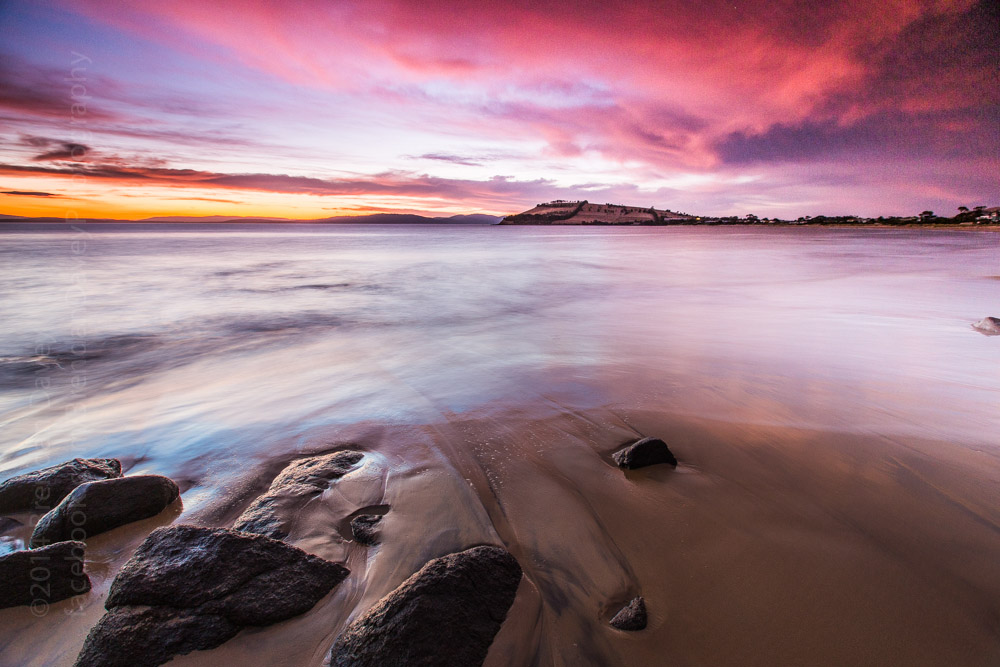
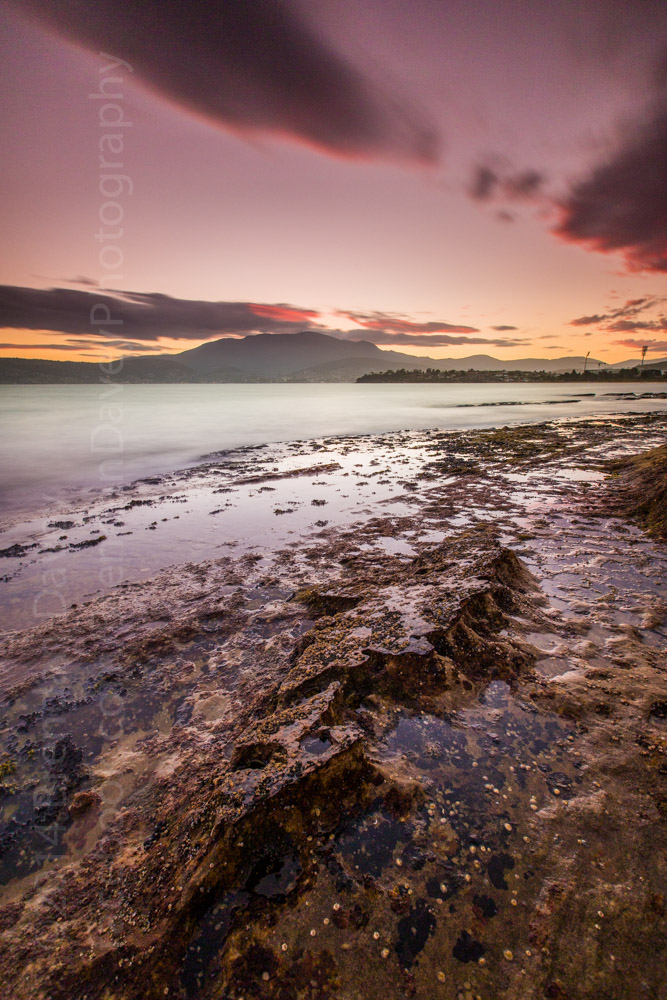
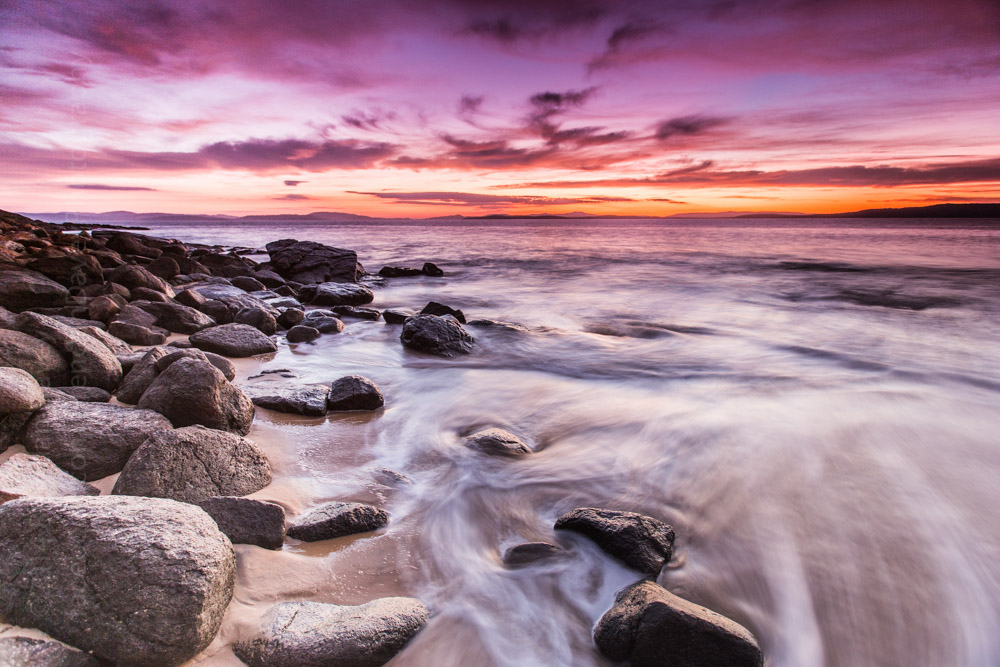
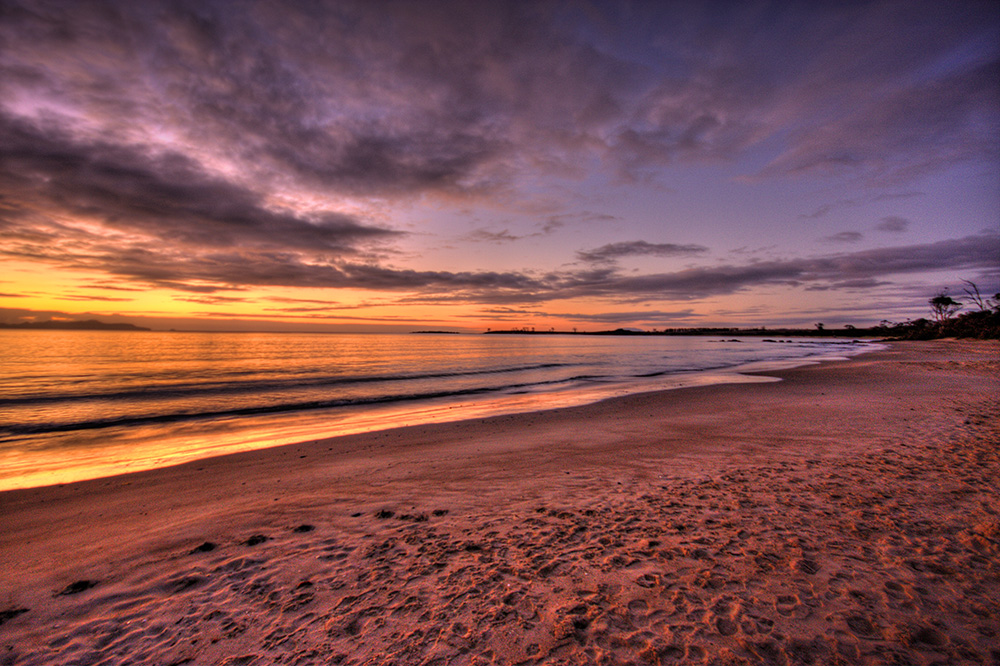
Lauderdale Beach, Tasmania
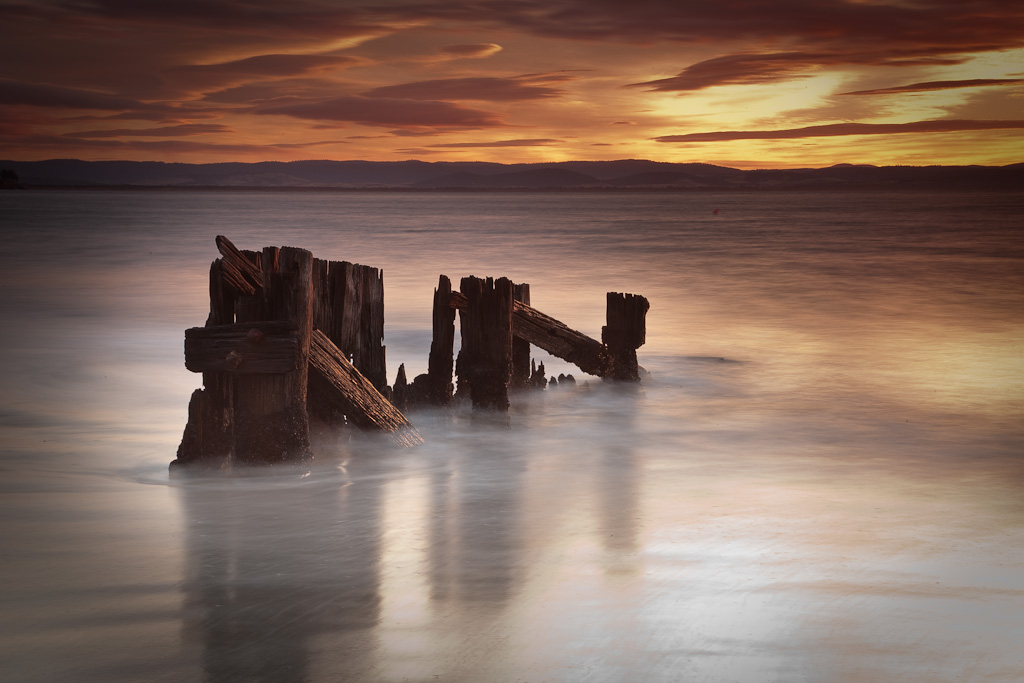
Old Jetty – East Coast Tasmania
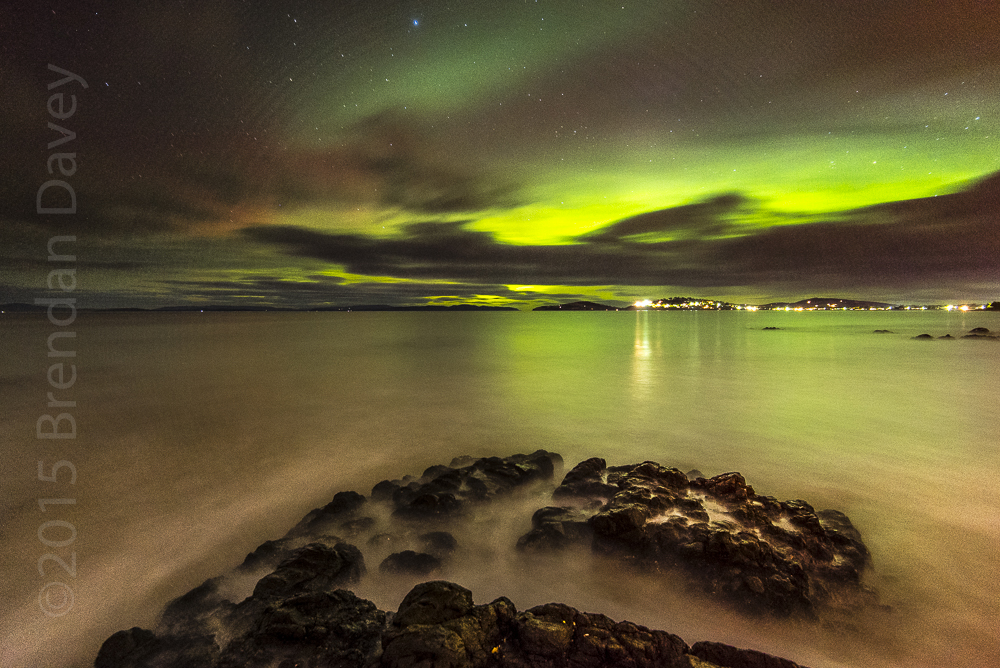
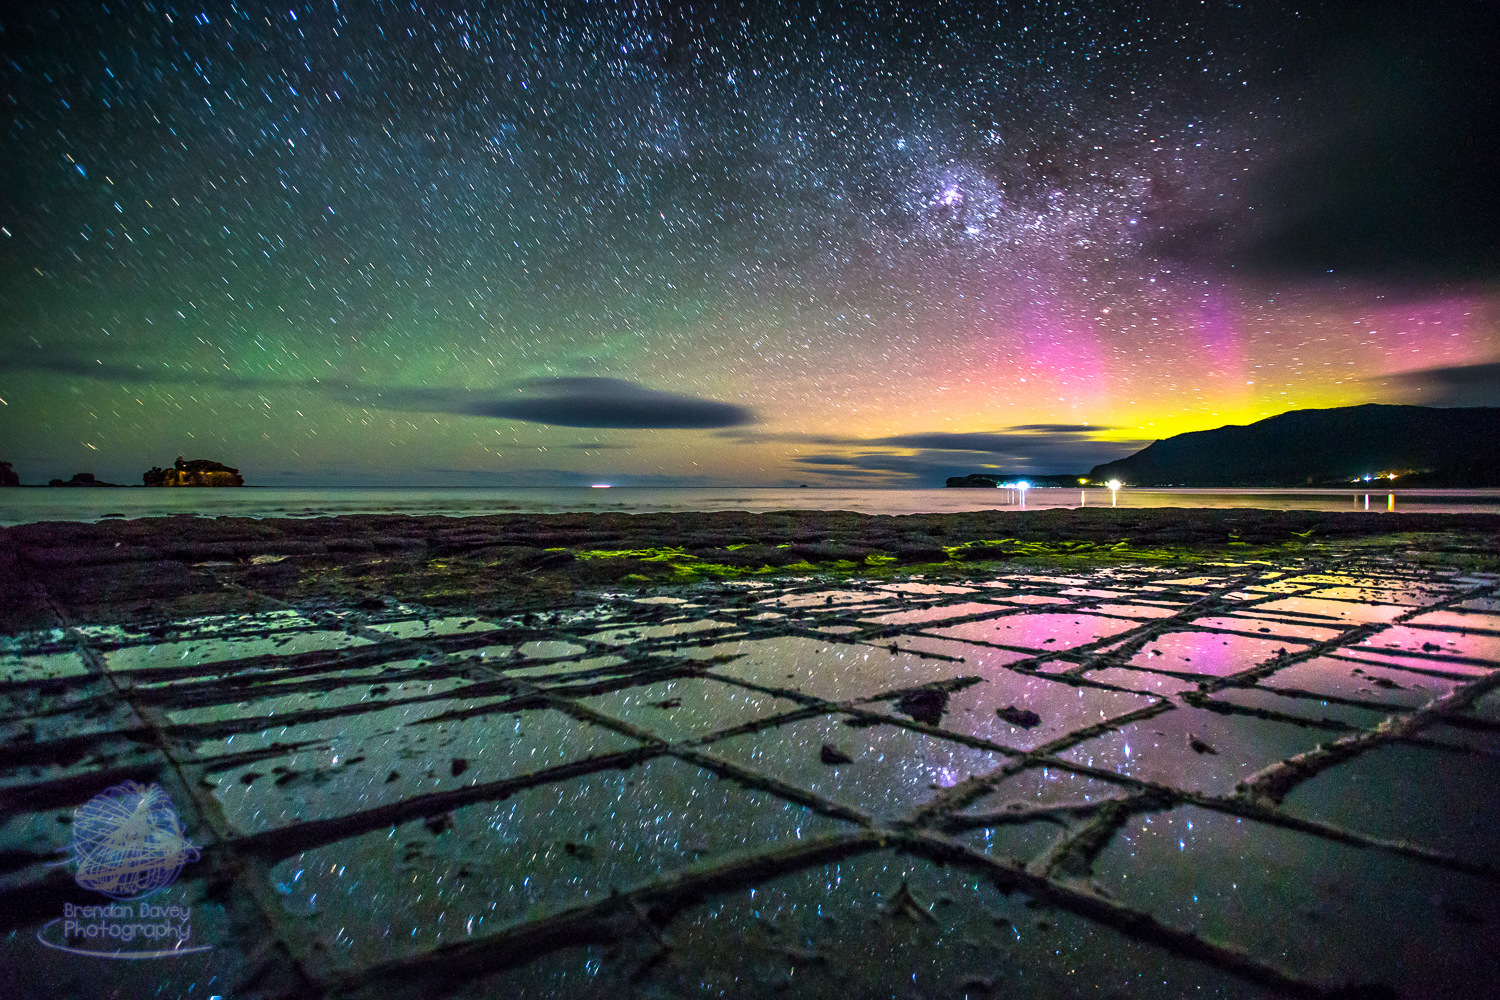
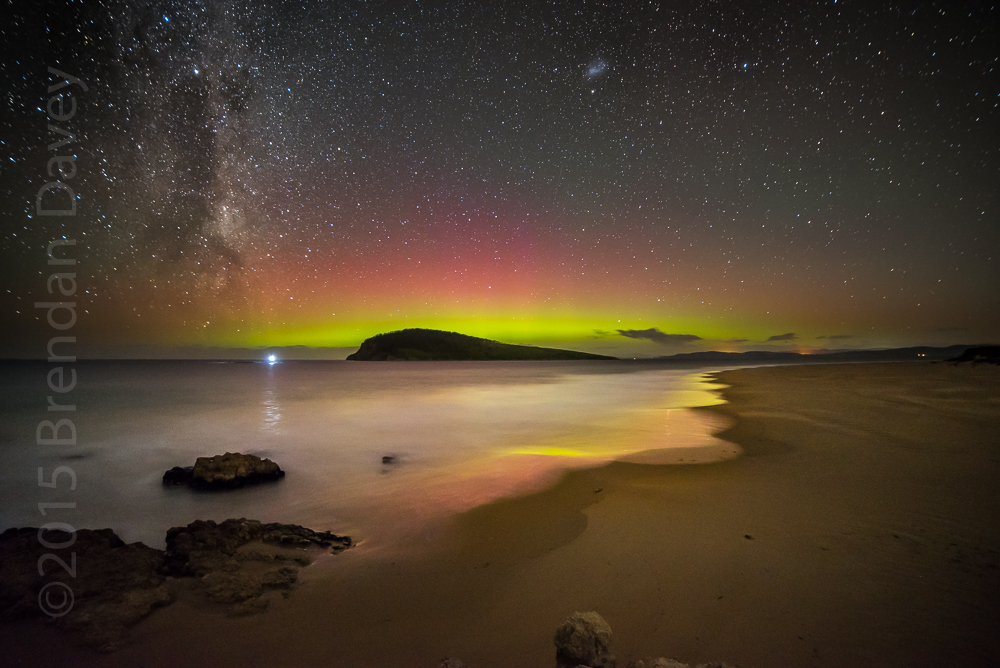
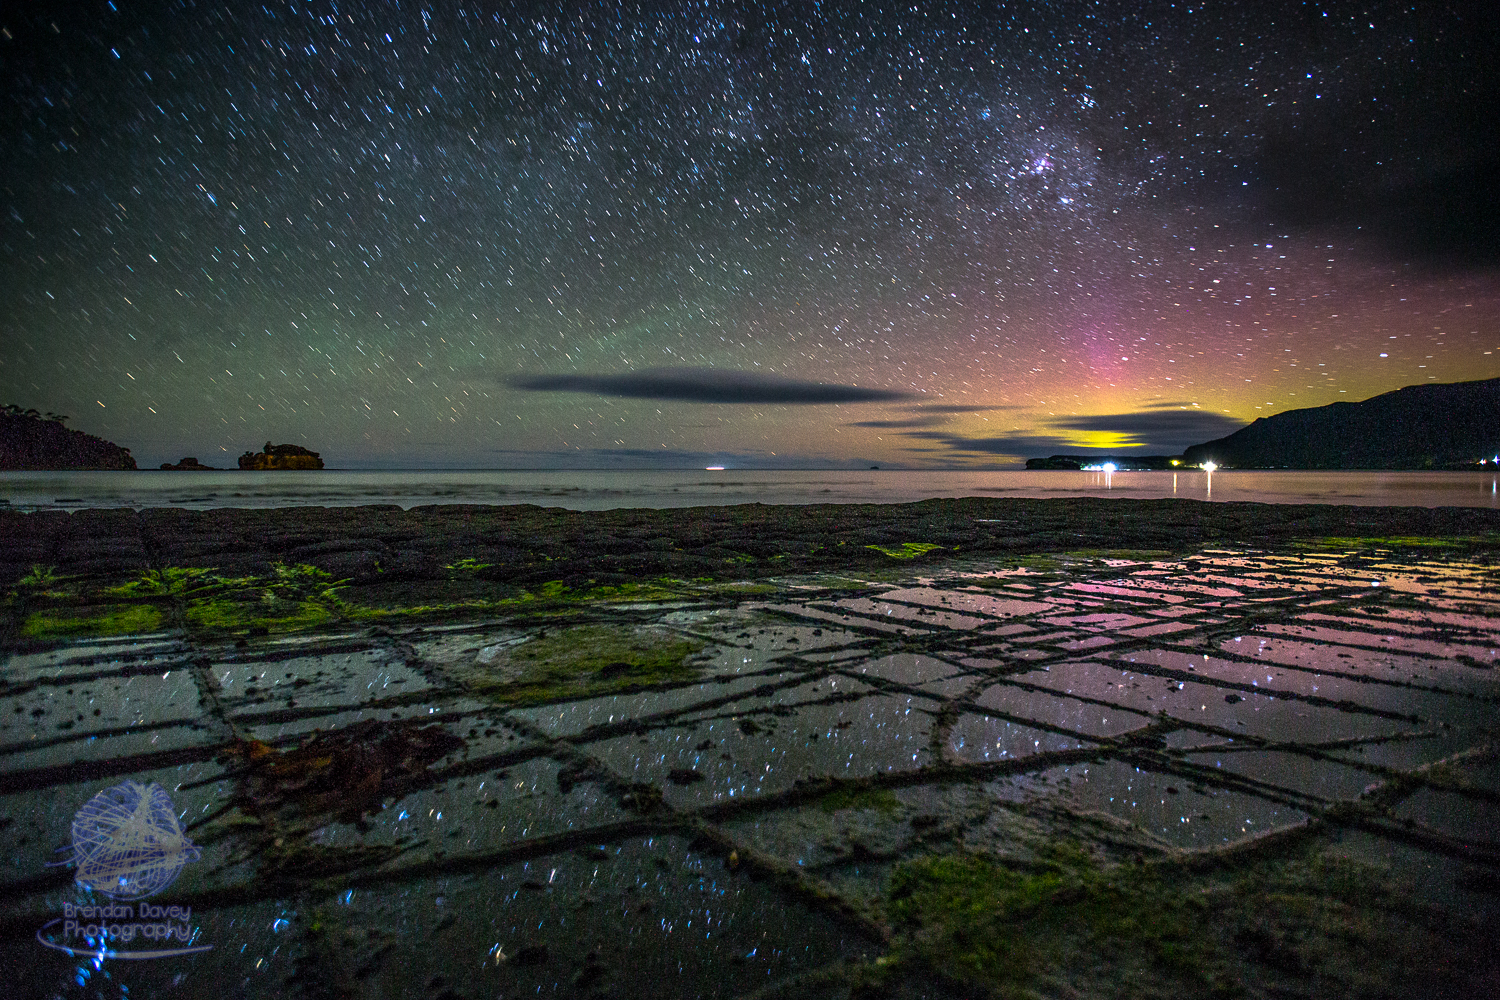
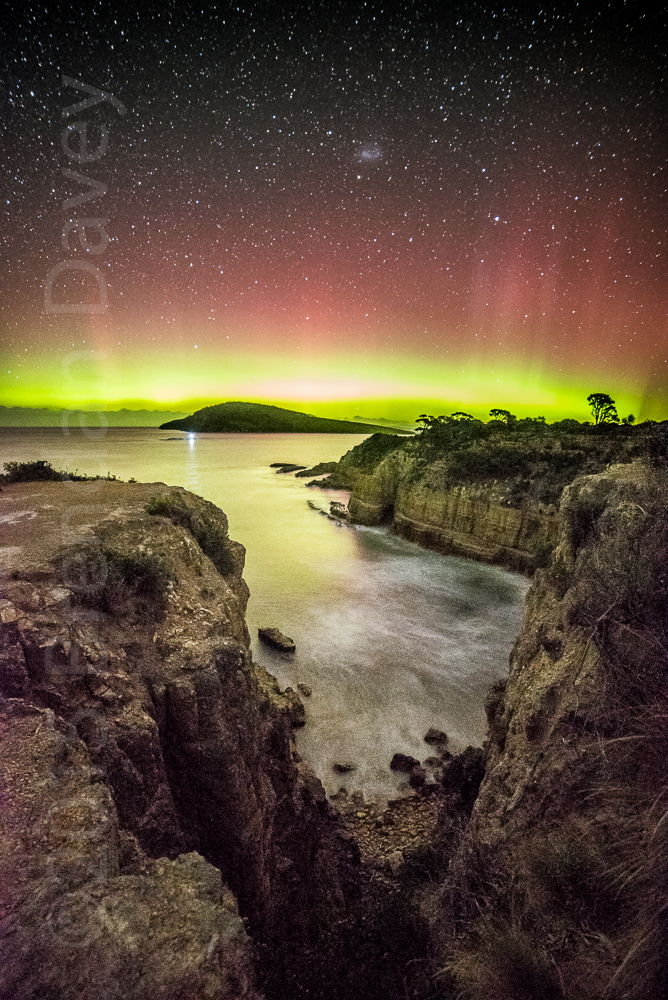
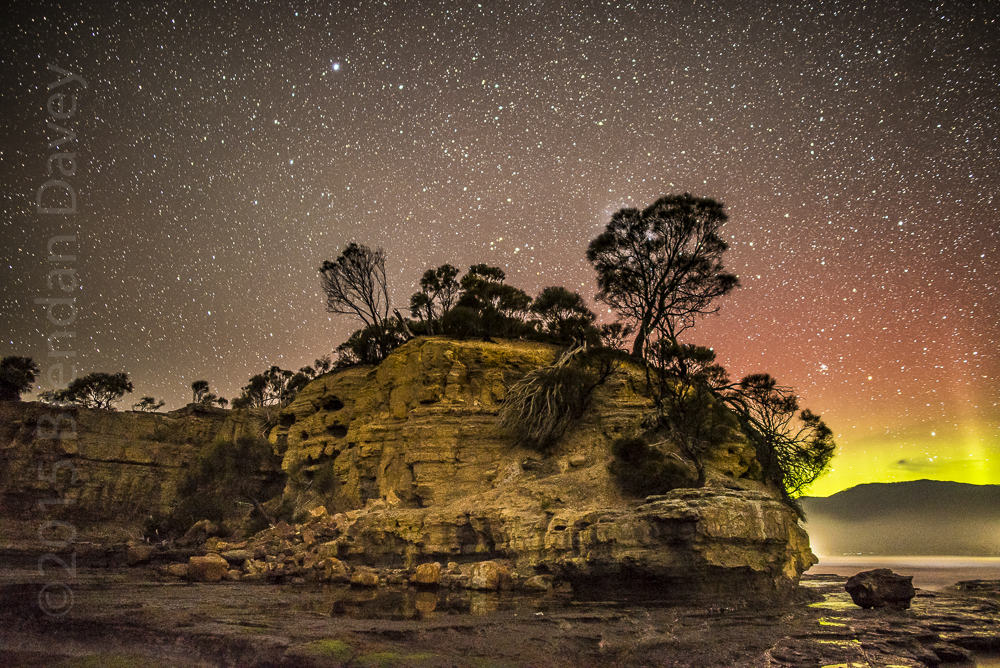
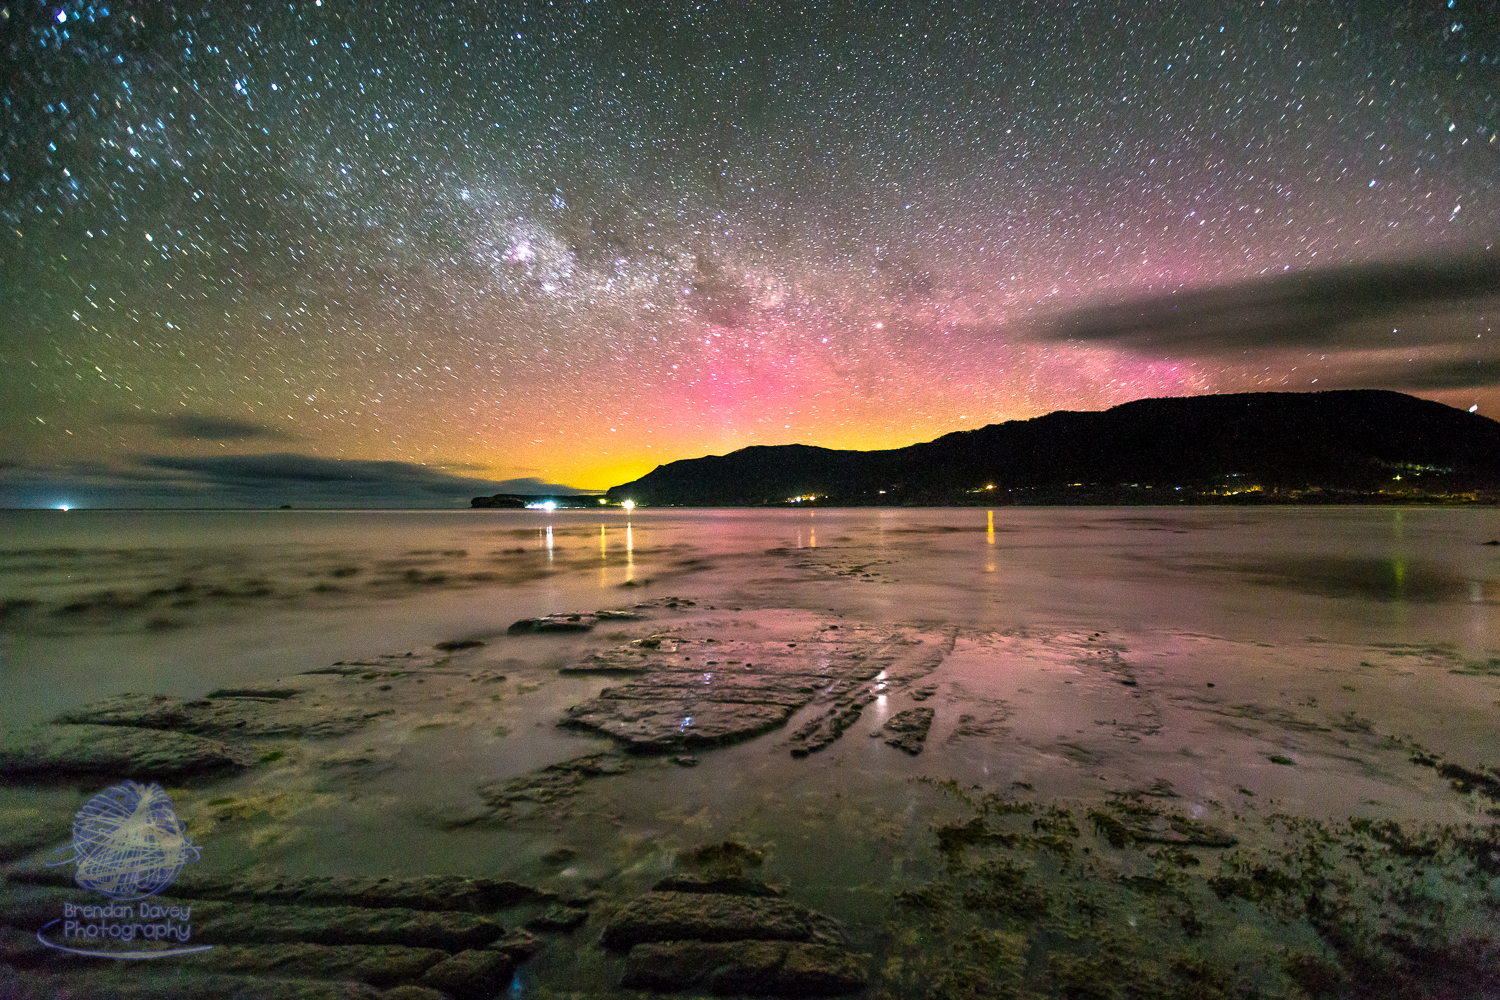
Tessellated Pavement Aurora
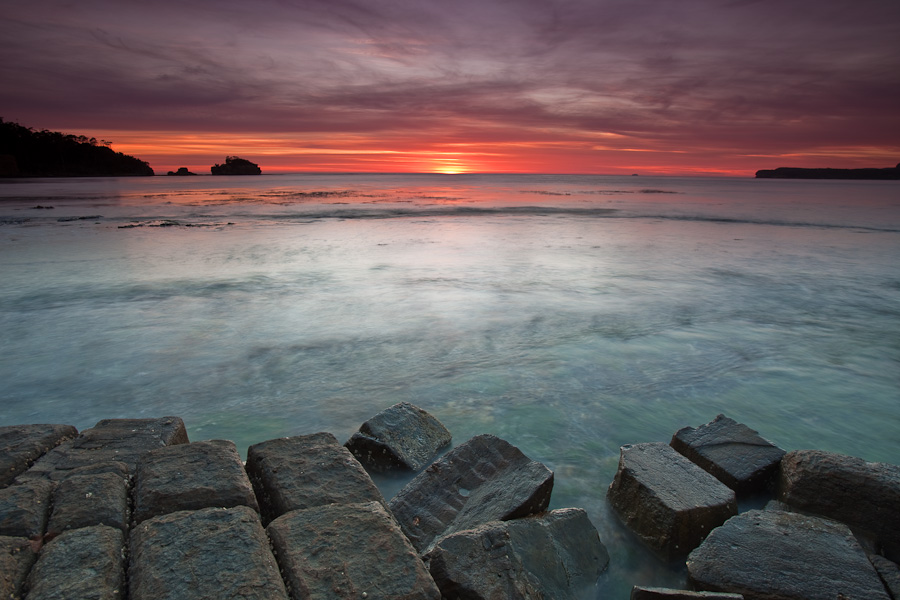
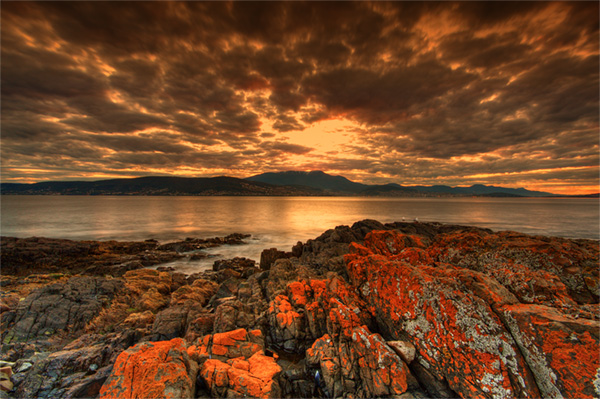
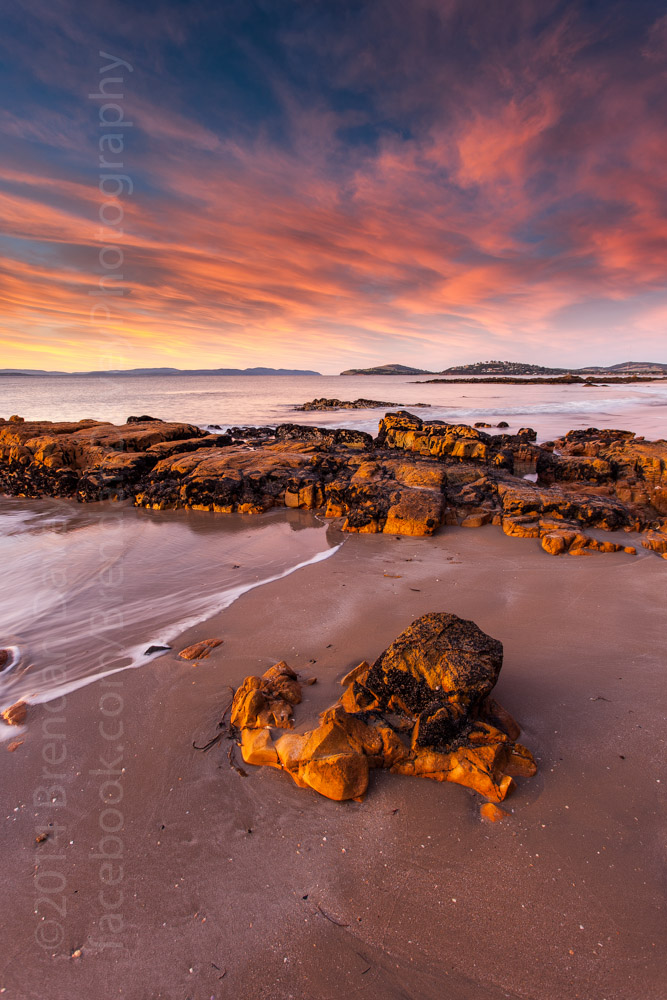
Mayfield Bay Sunrise – Tasmanian East Coast
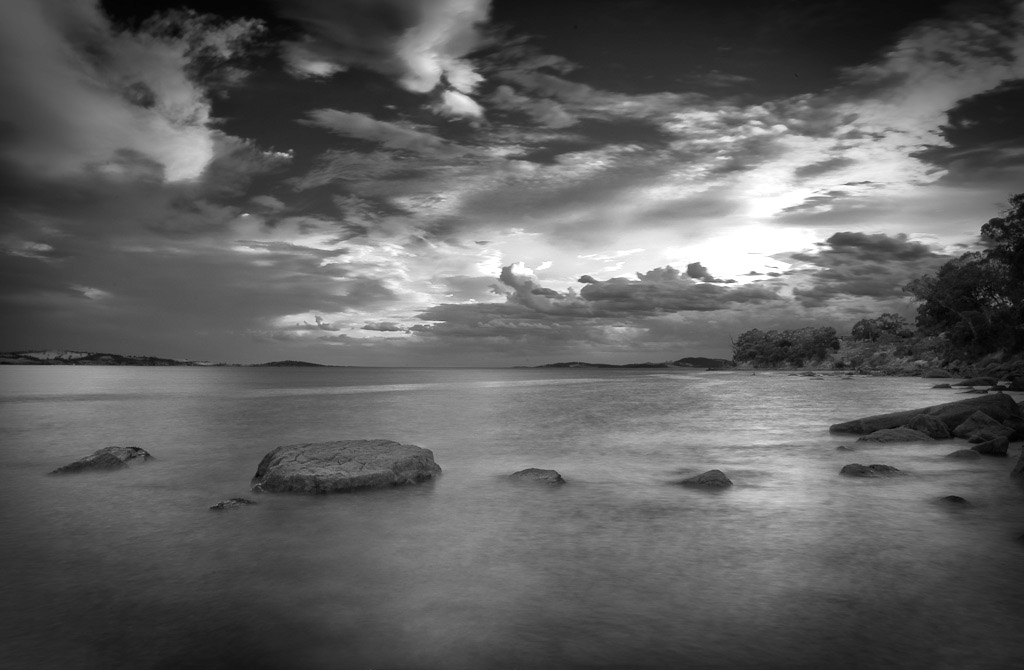
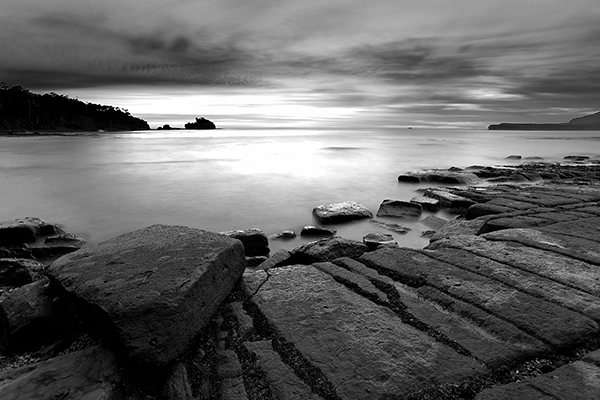
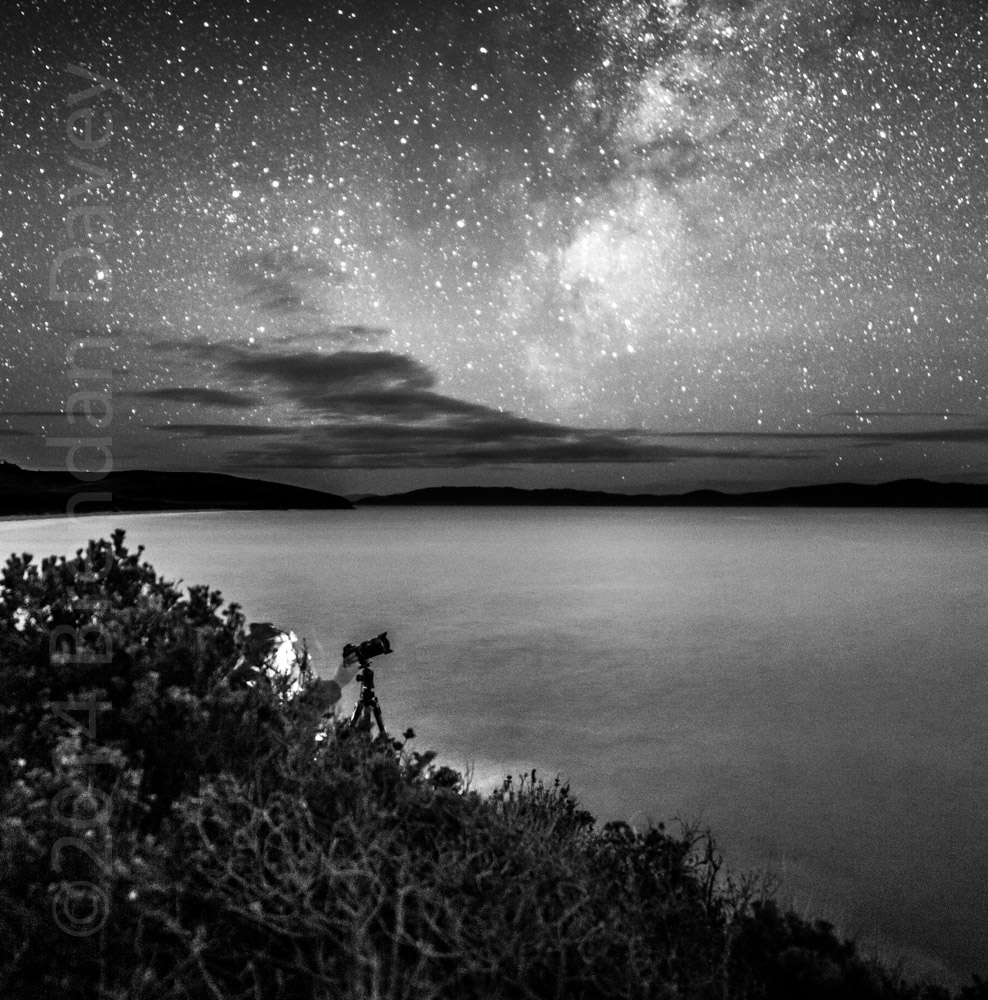
Taroona Sunset – Black and White
Ralphs Bay, Lauderdale, Tasmania
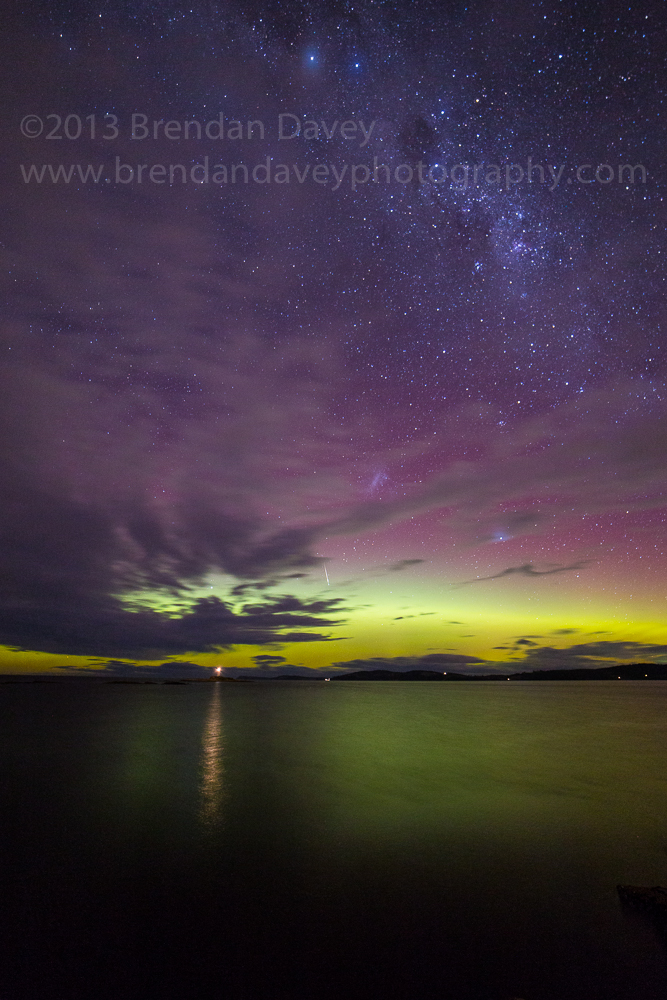
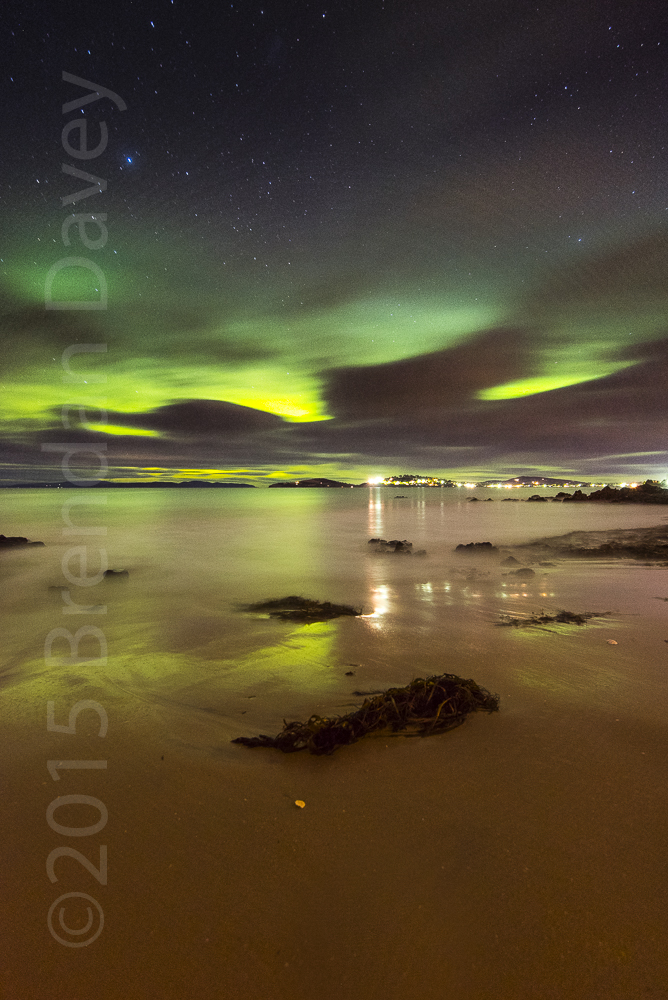
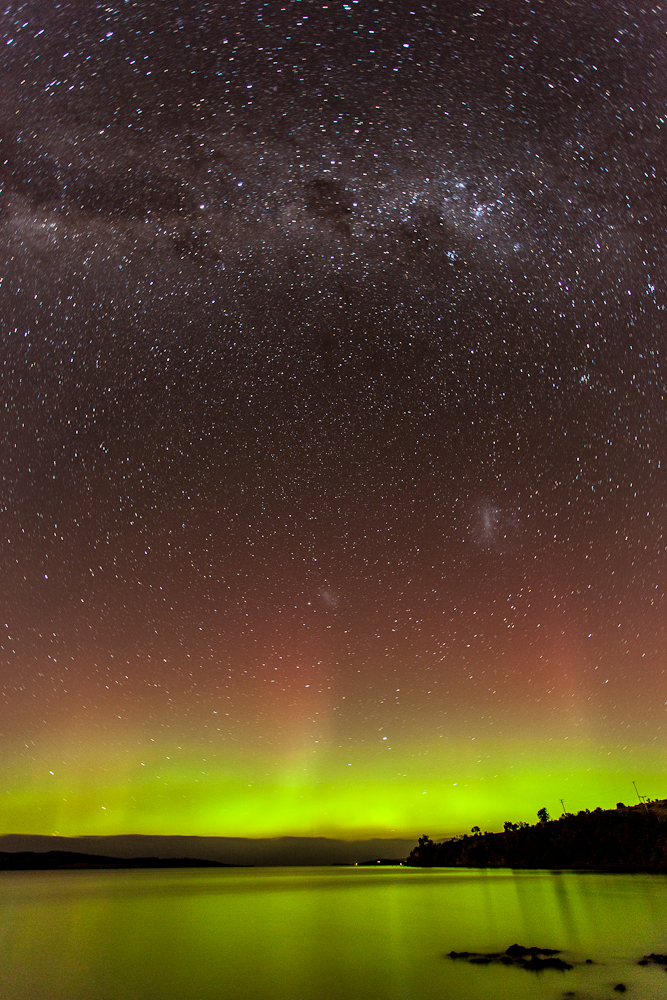
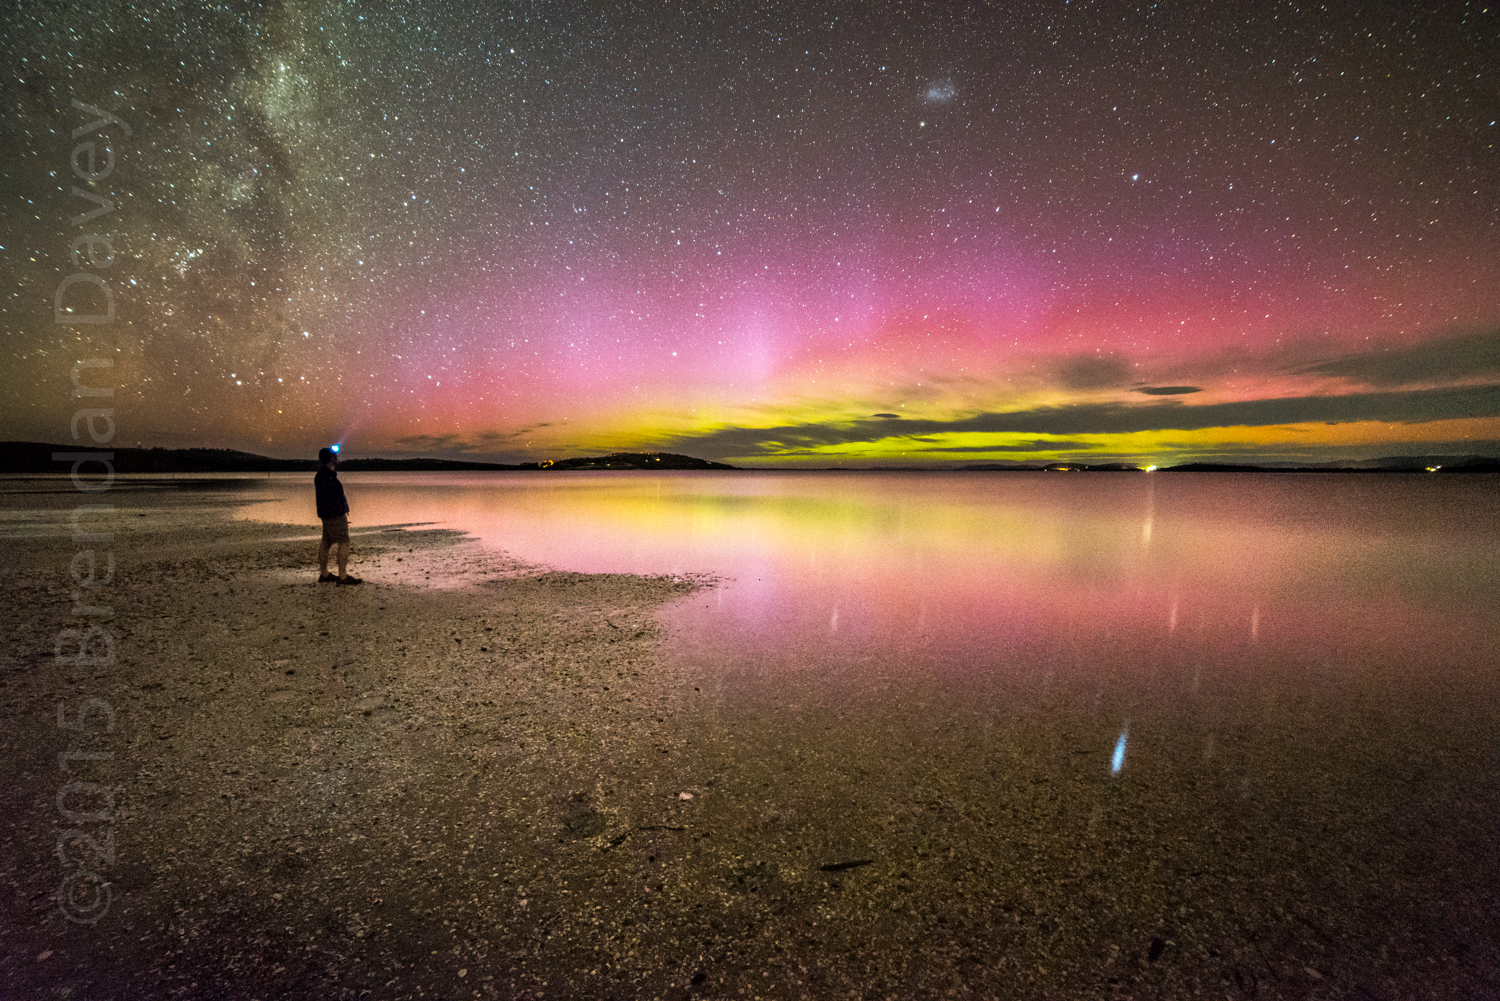
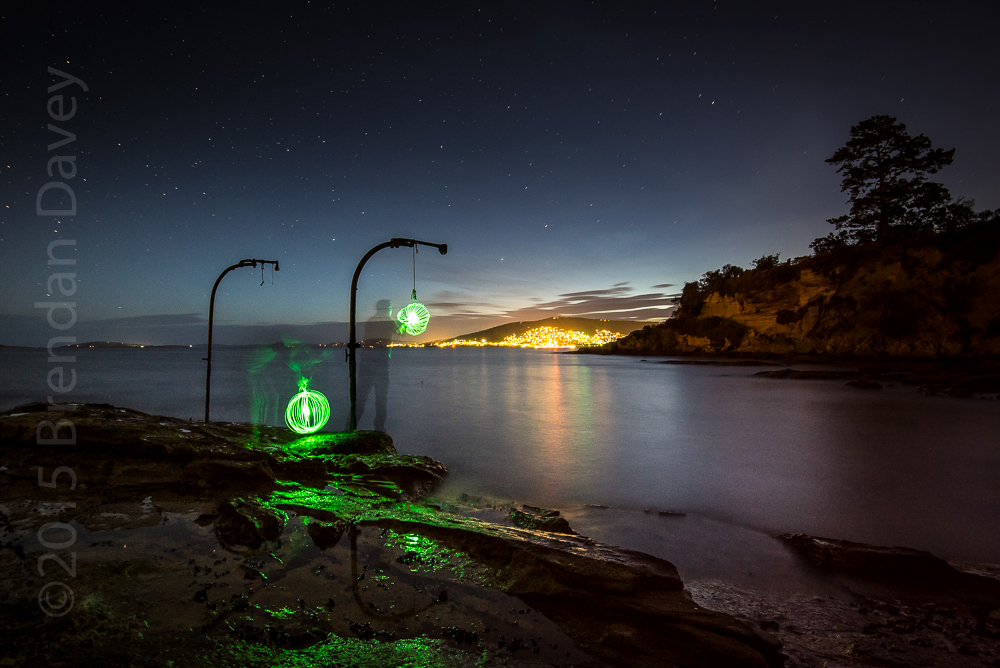
Aurora Australis from Mortimer Bay
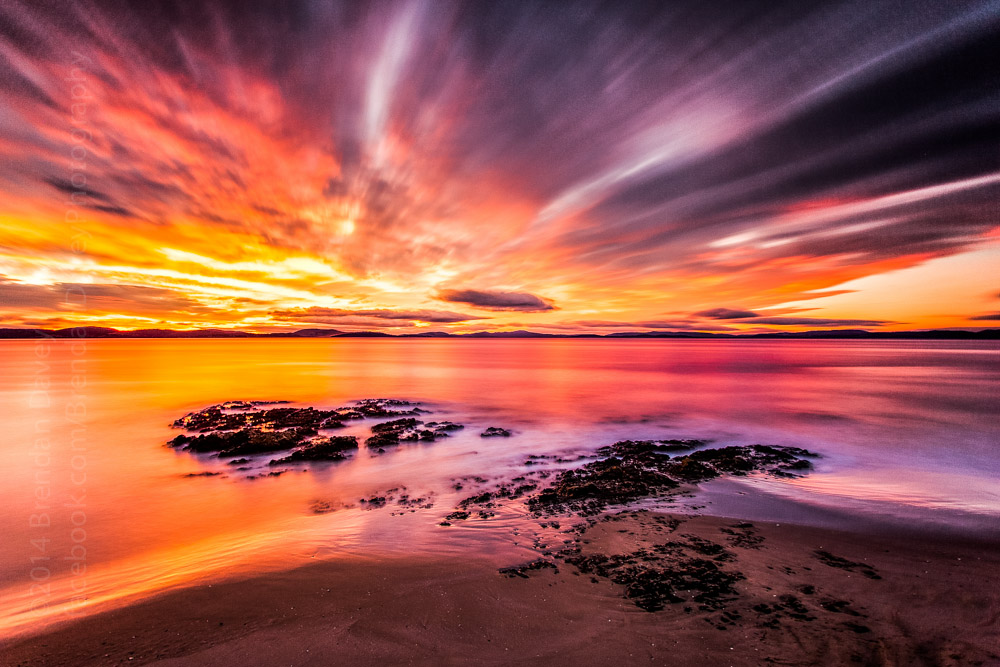
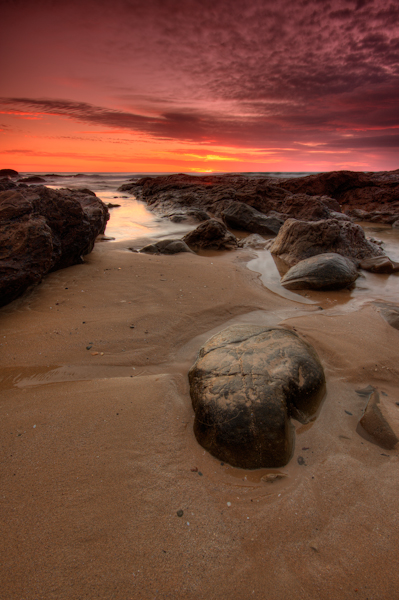
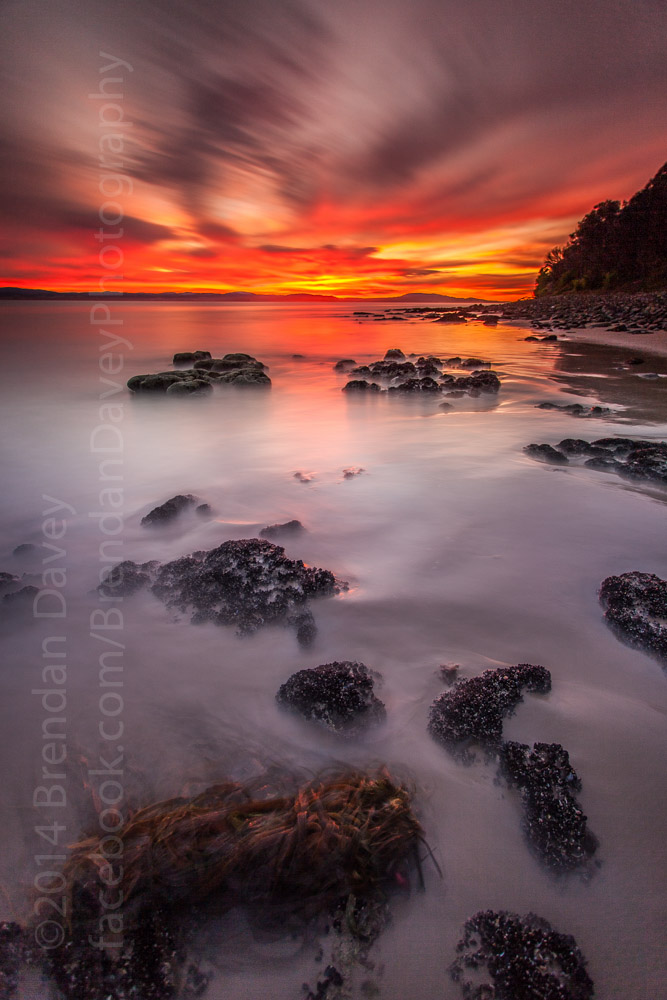
Red Sunrise, Lorne, Victoria.
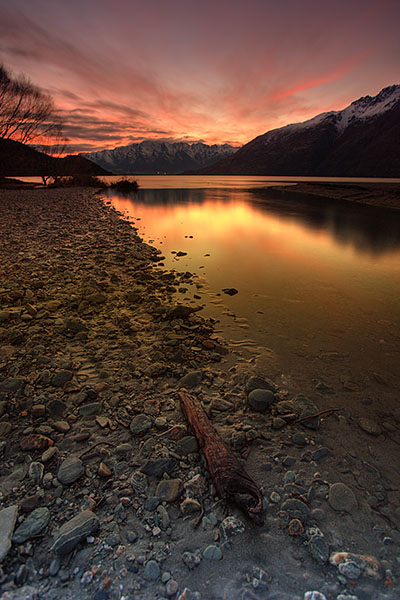
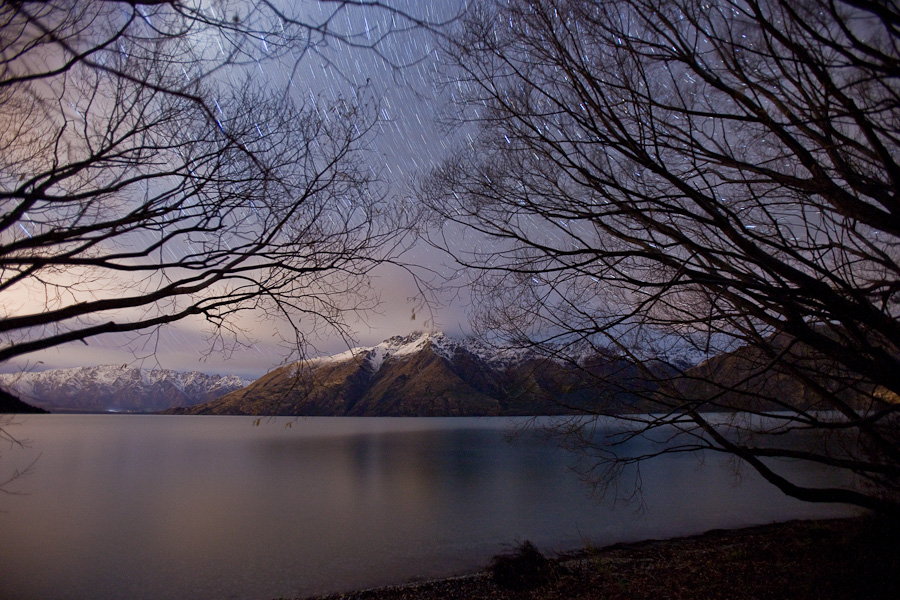
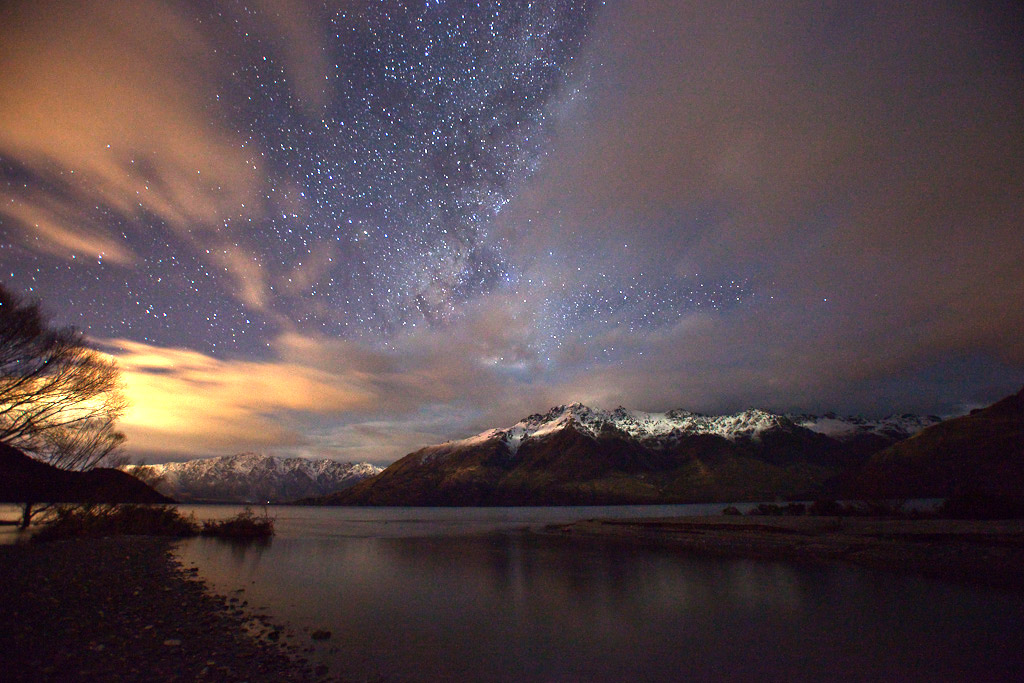
Lake Wakipu – Queenstown, New Zealand.
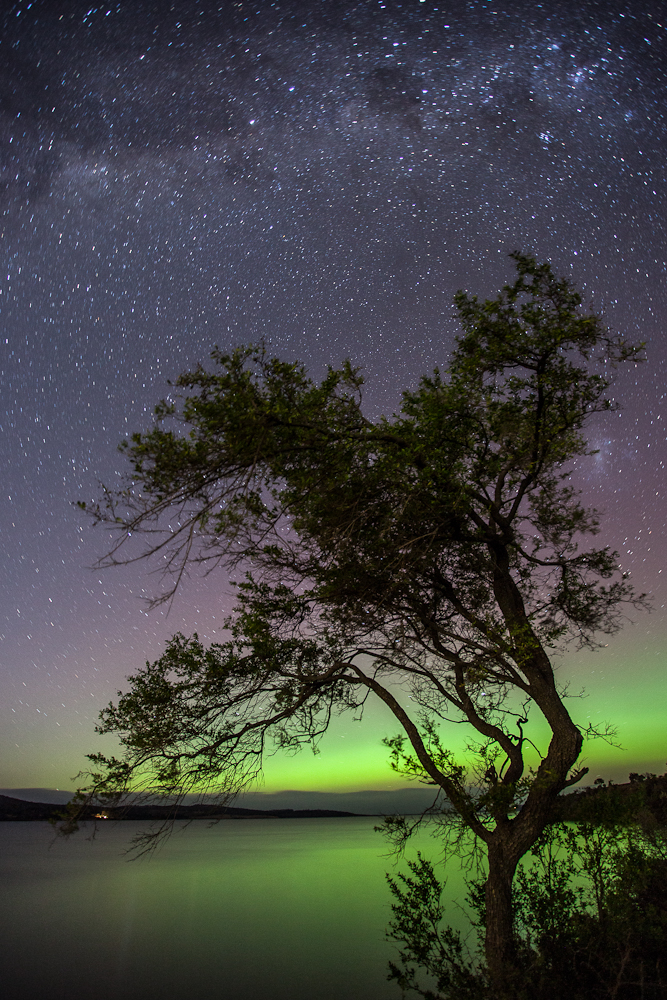
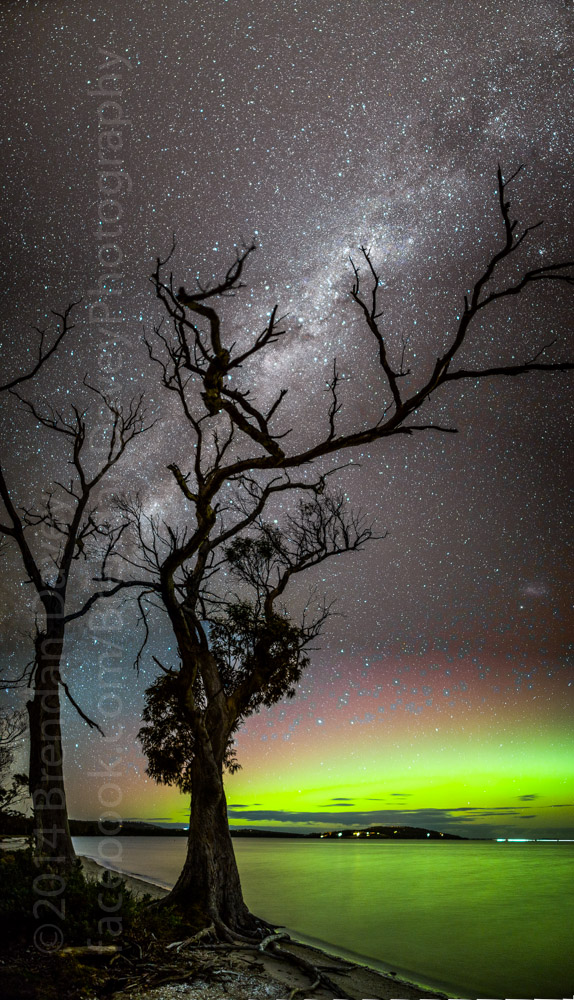
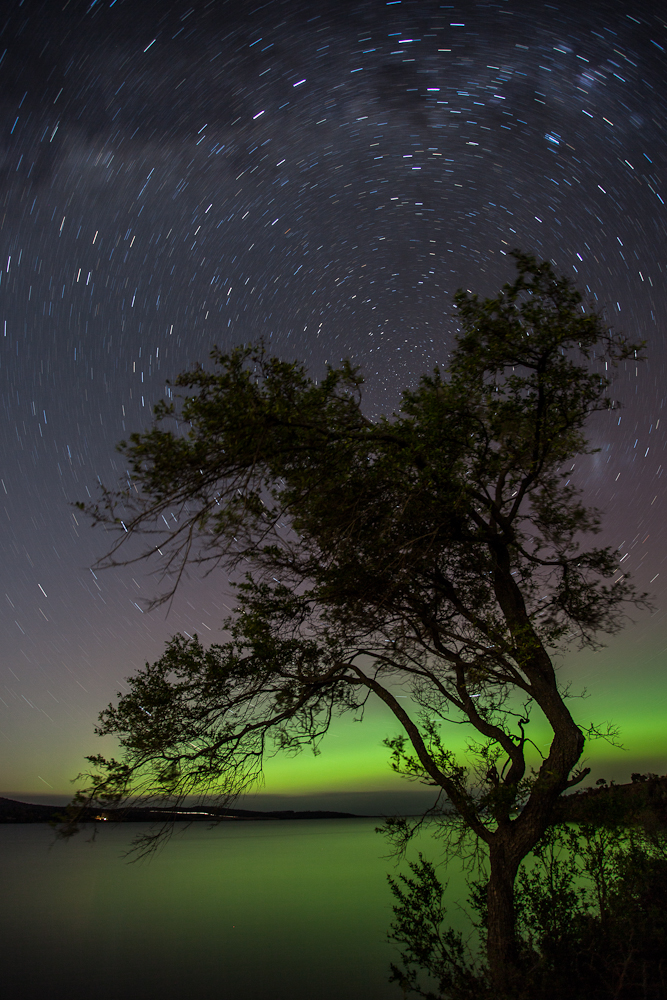
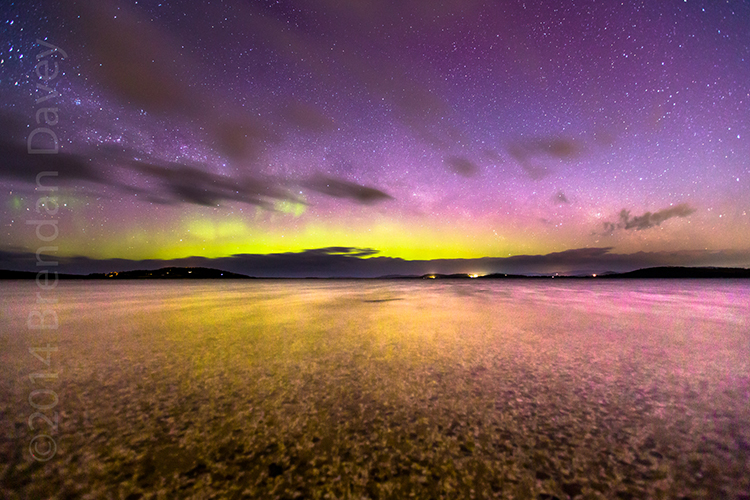
Aurora and Gum Tree, Mortimer Bay, Tasmania
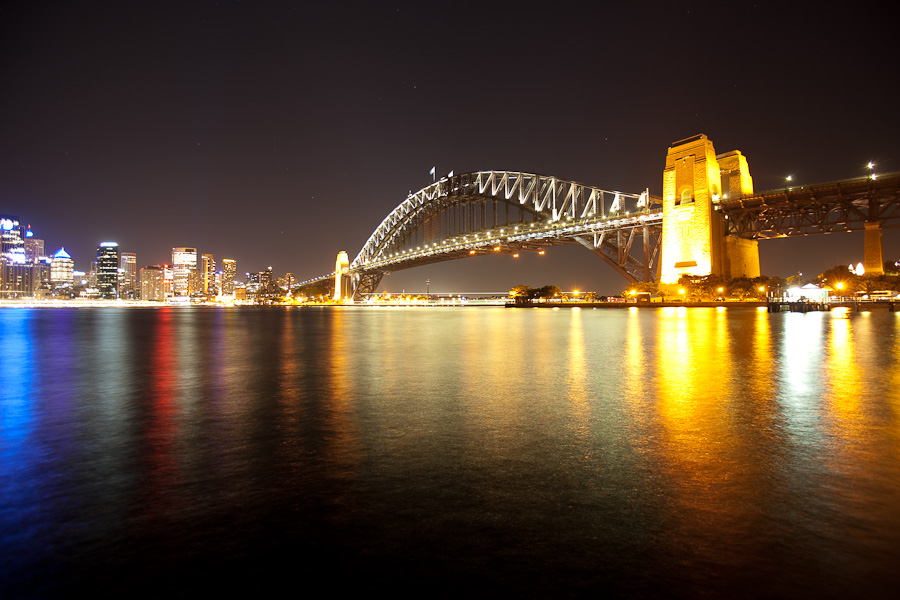
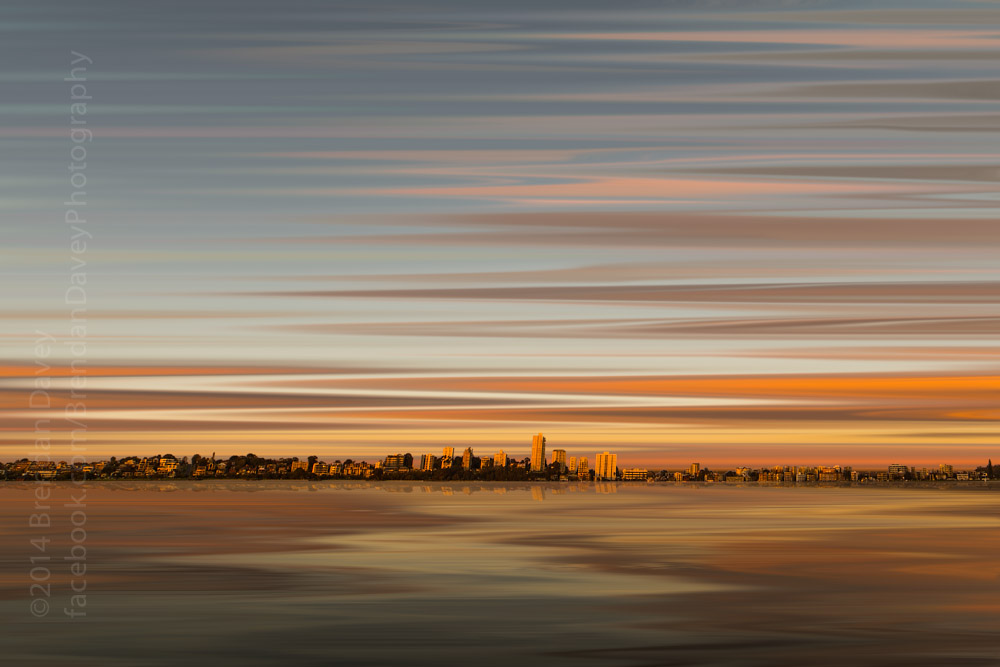
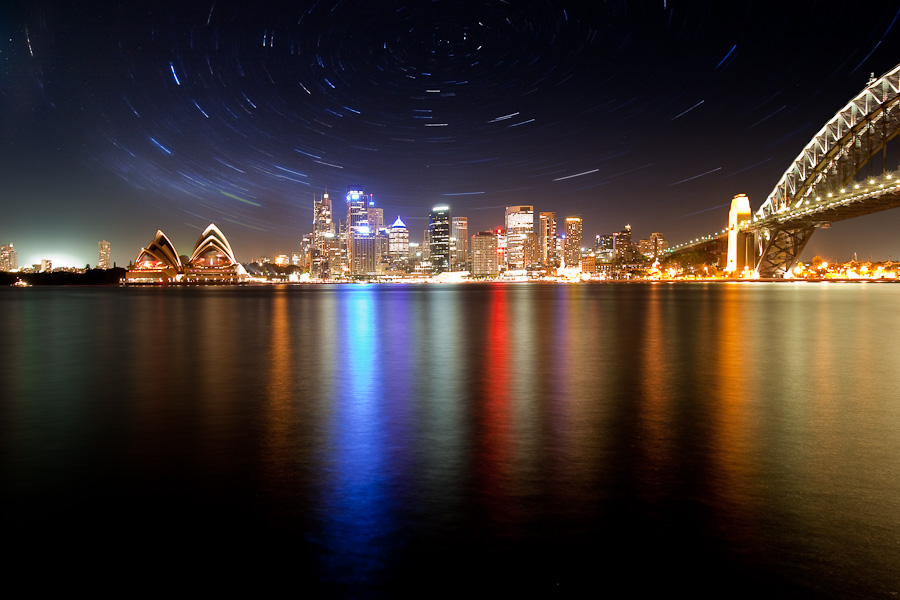
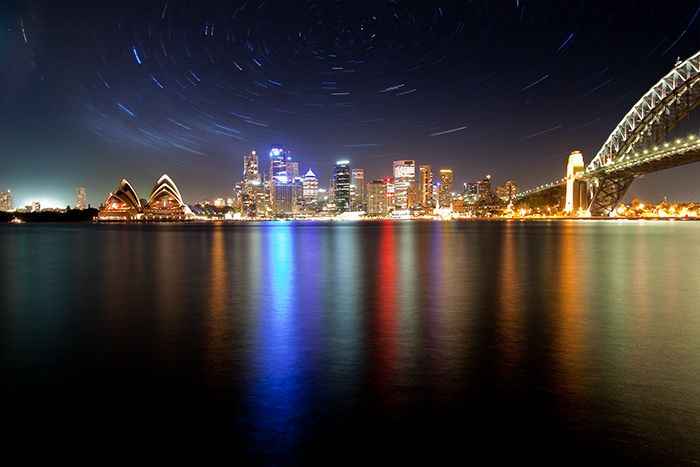
Sydney Harbour
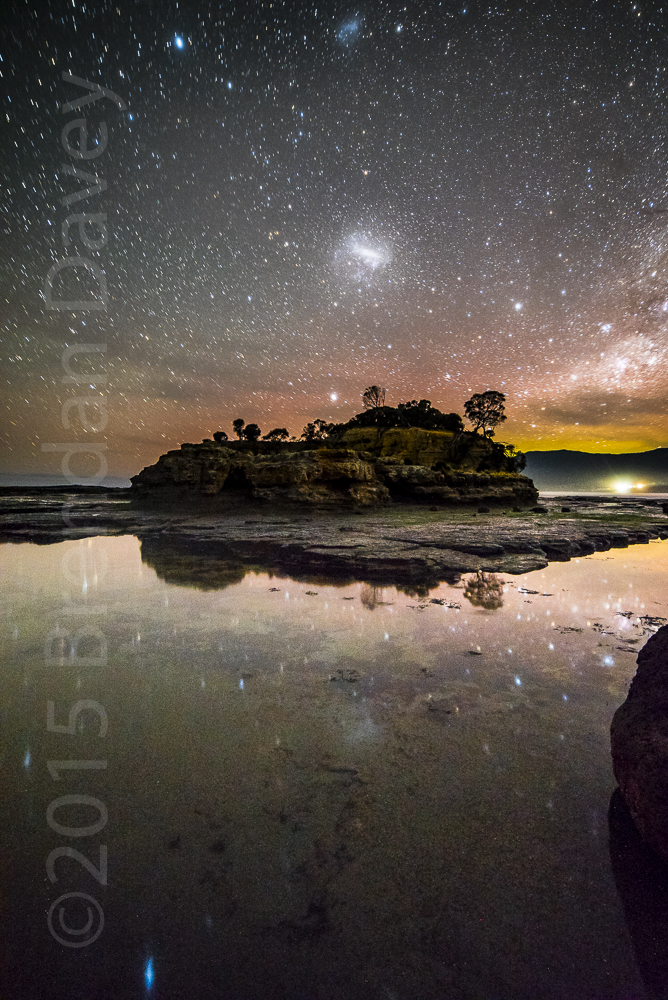
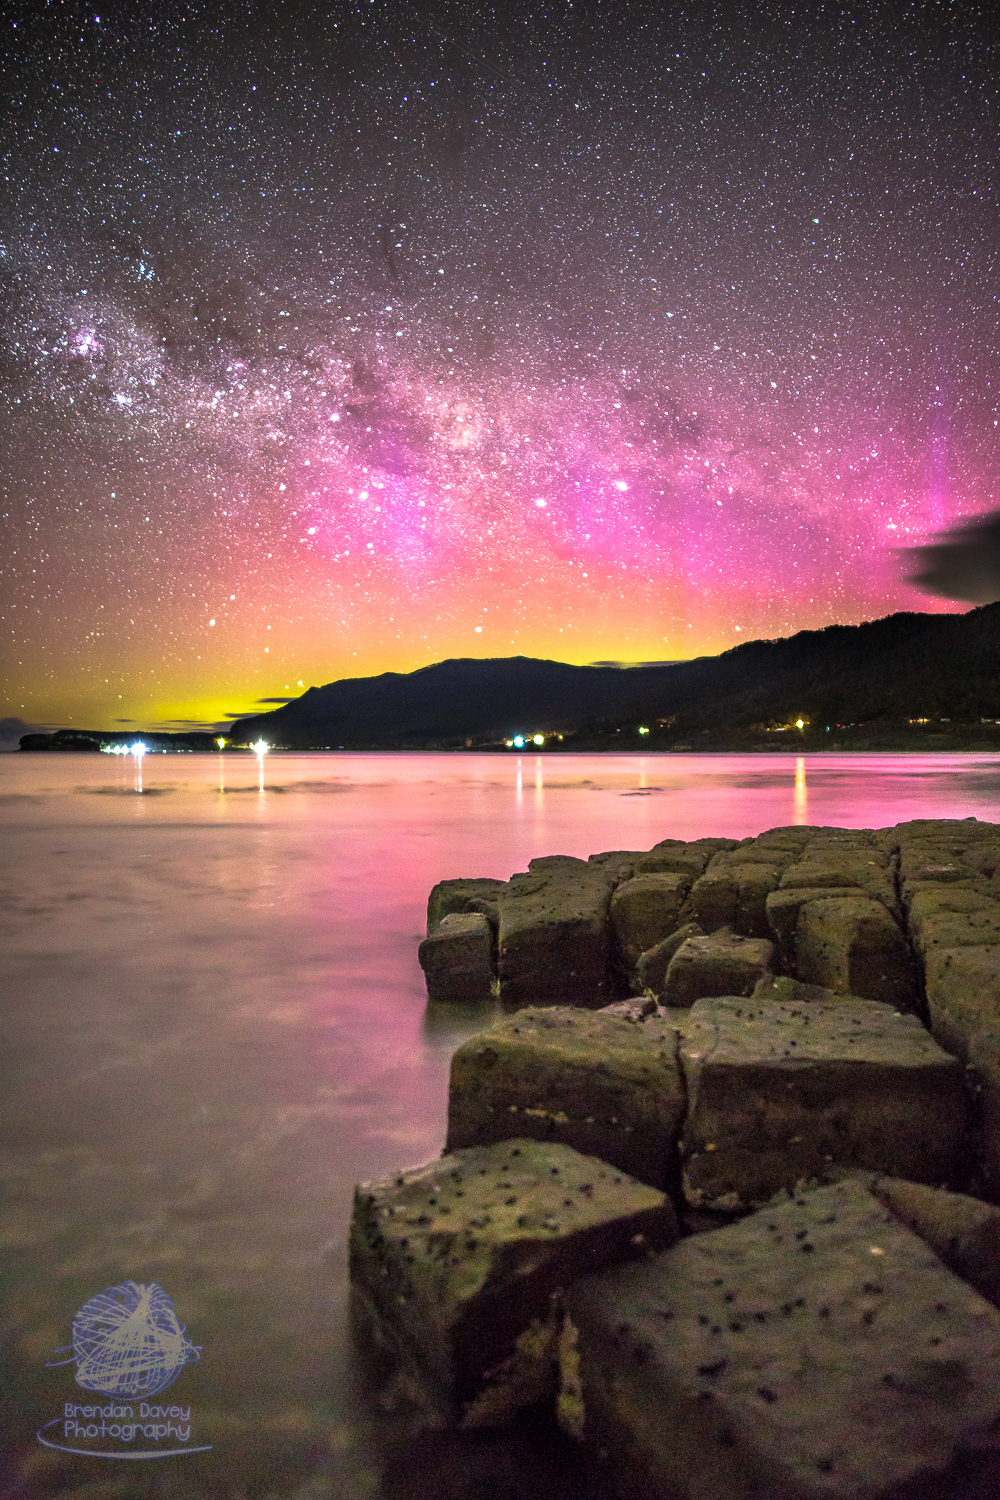
Aurora over the Tessellated Pavement ‘Loaves’, Tasmania
Mortimer Bay Aurora
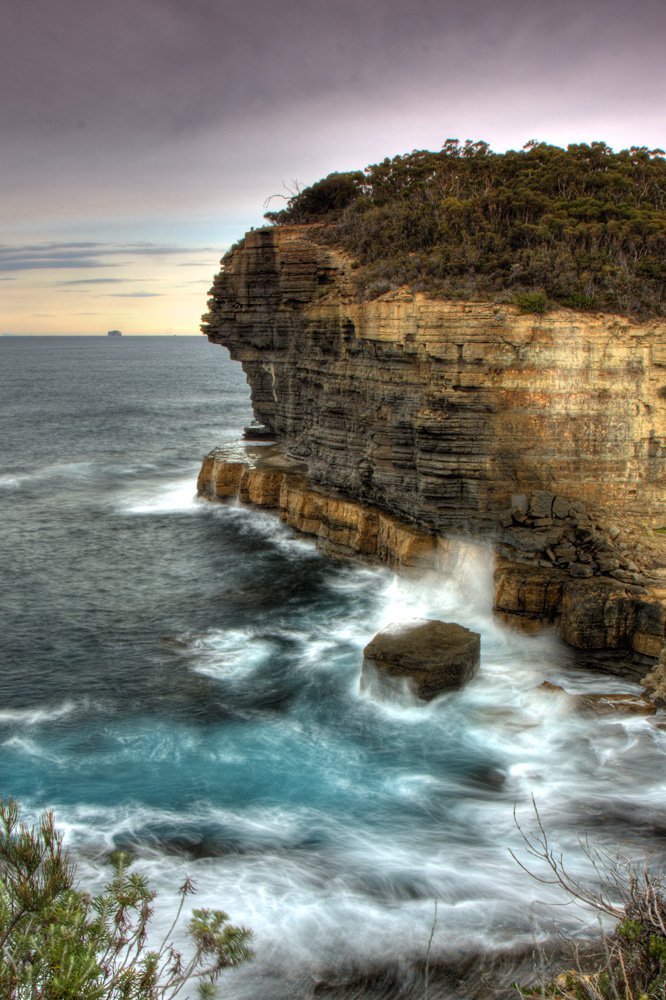
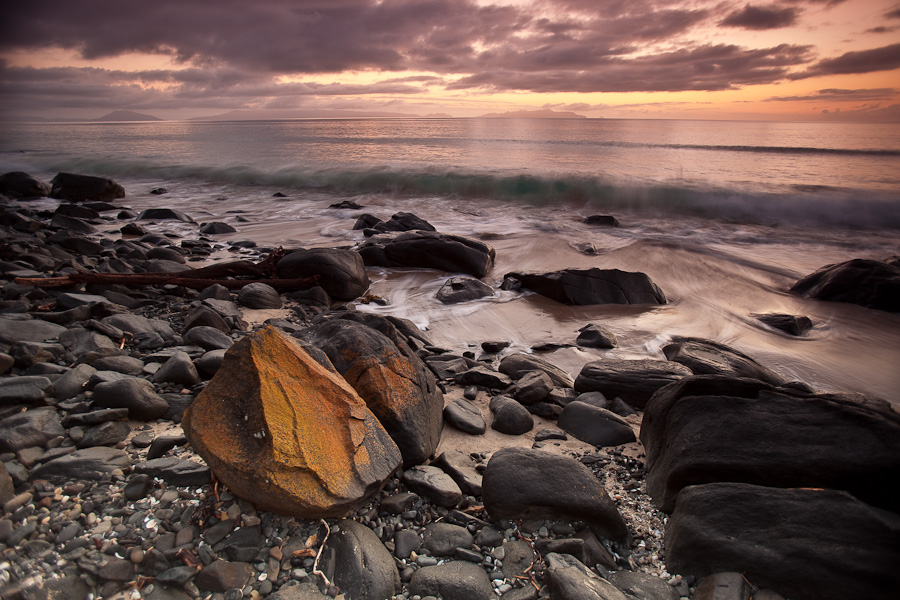
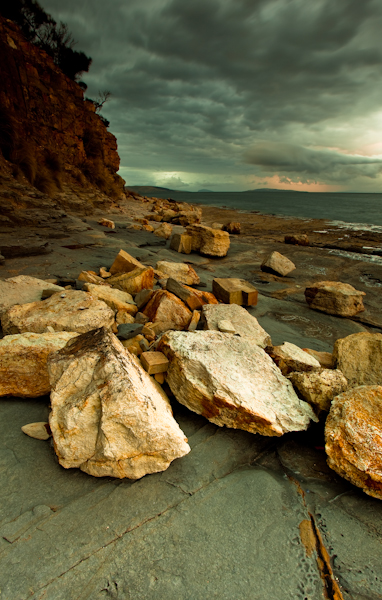
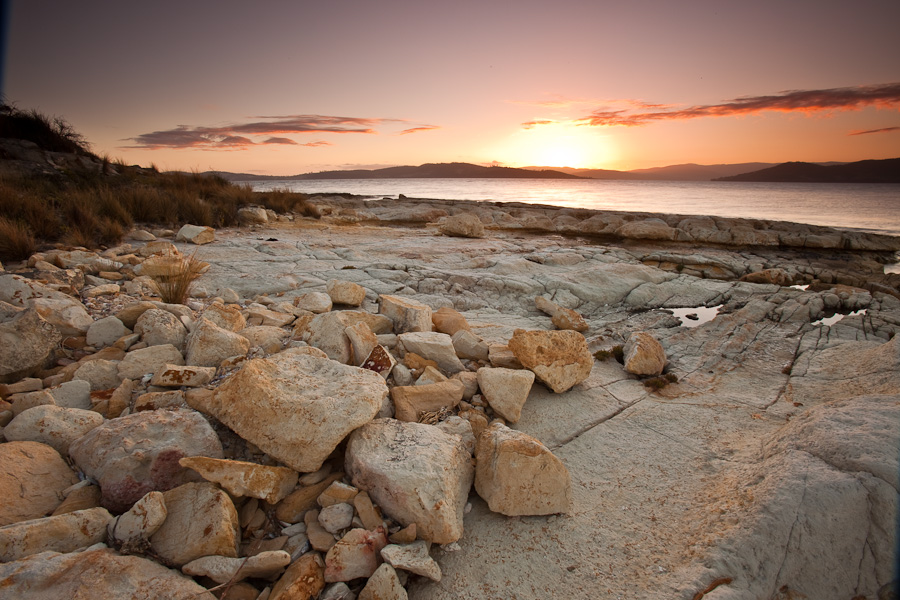
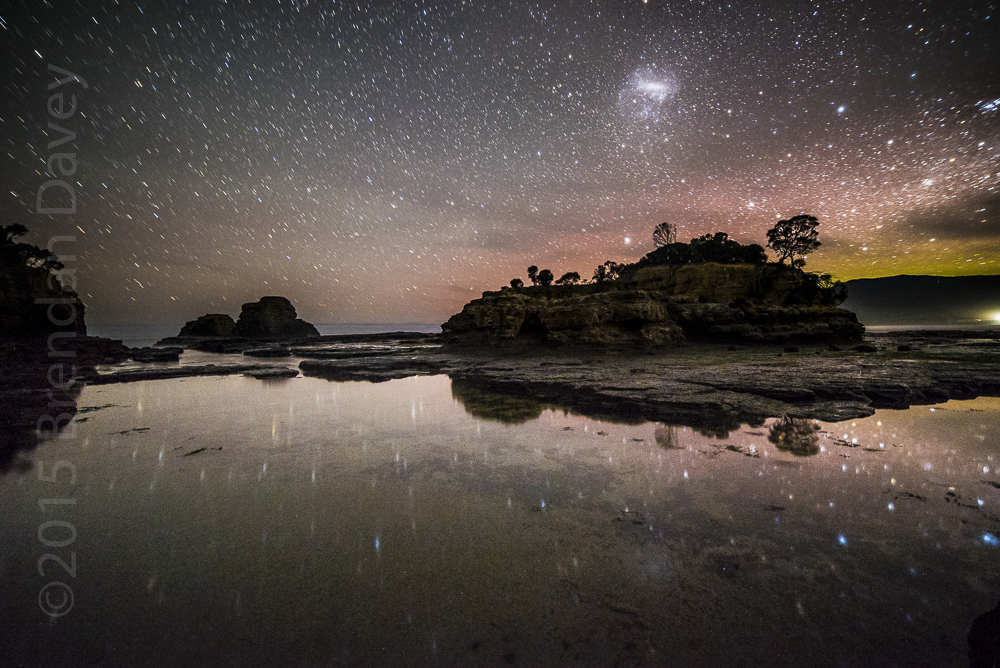
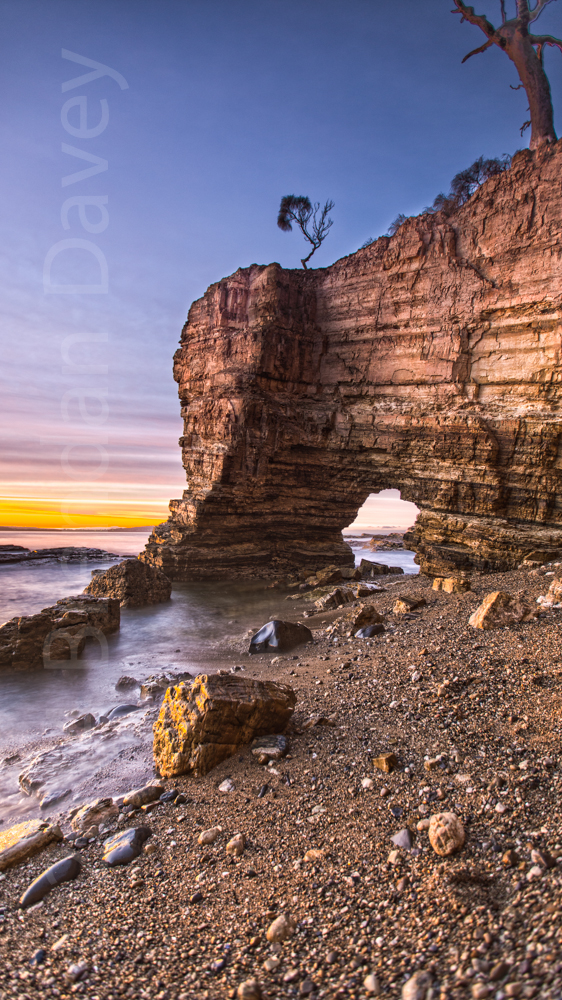
Sunrise, Fossil Cove, Tasmania
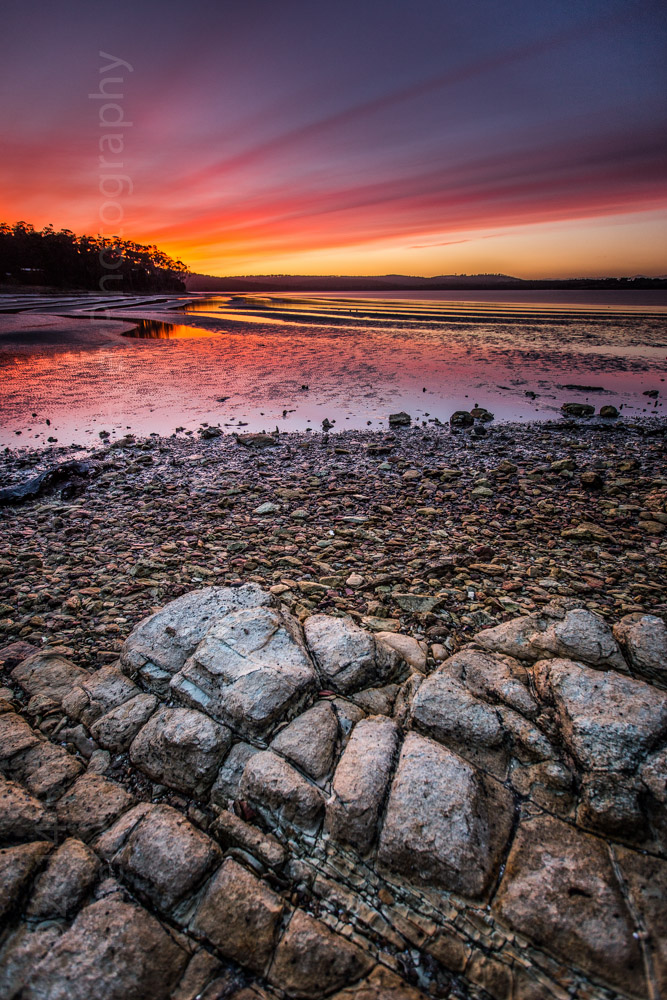
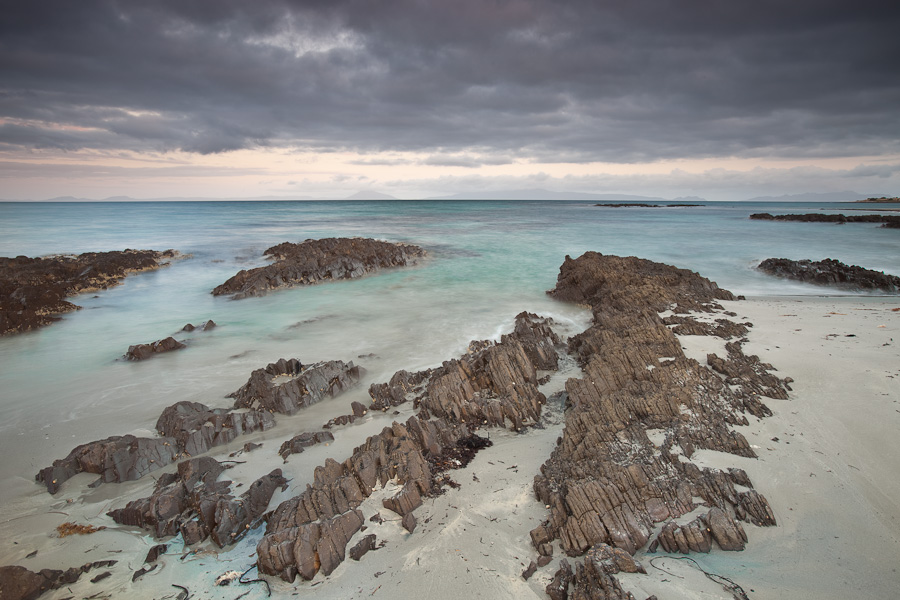
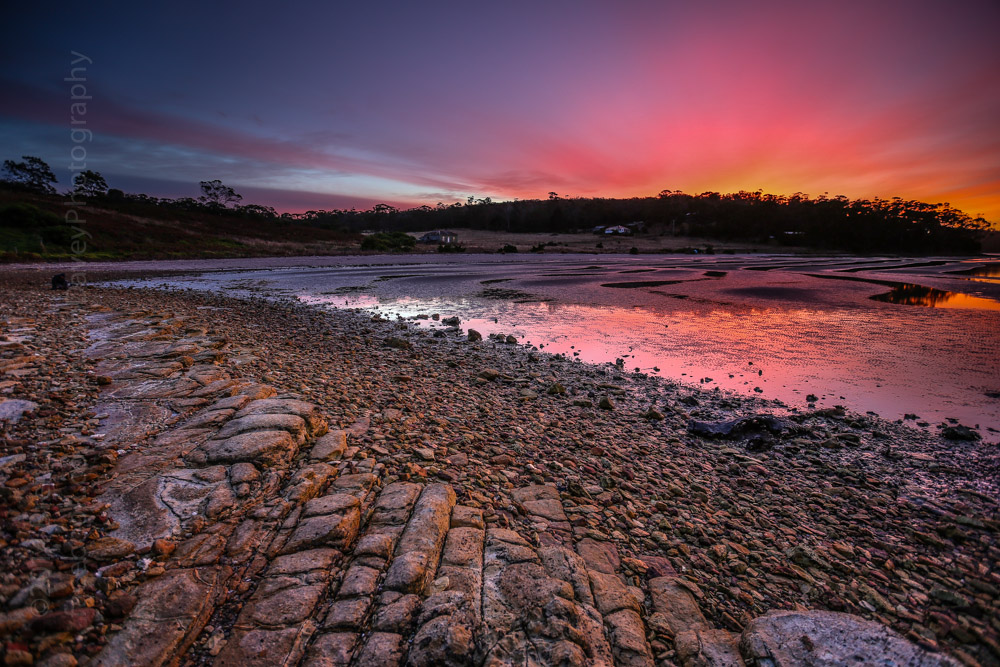
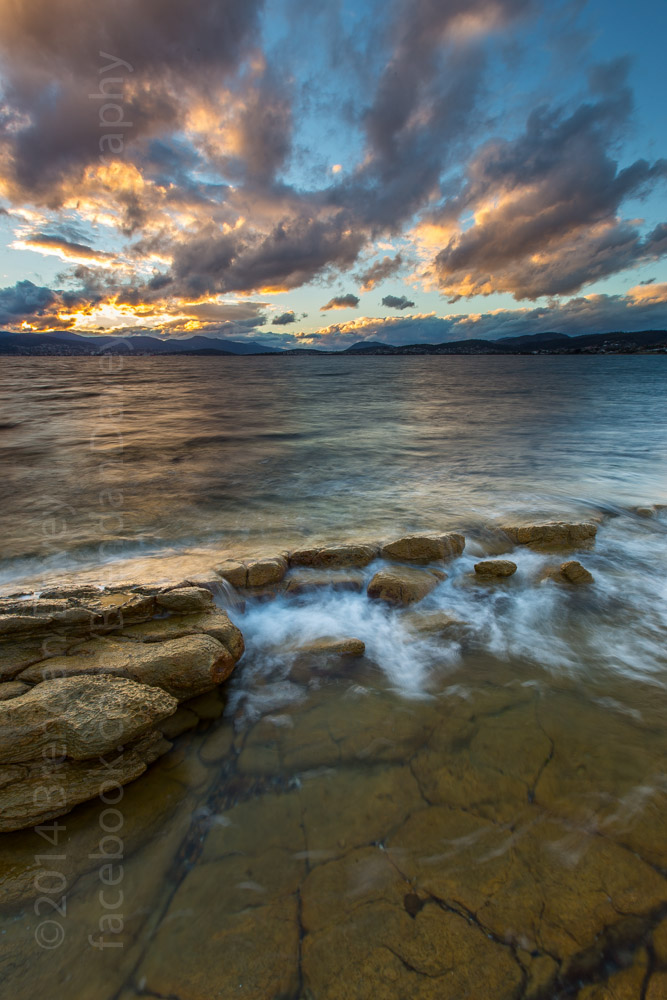
Water and Rock (Tessellated Pavement).
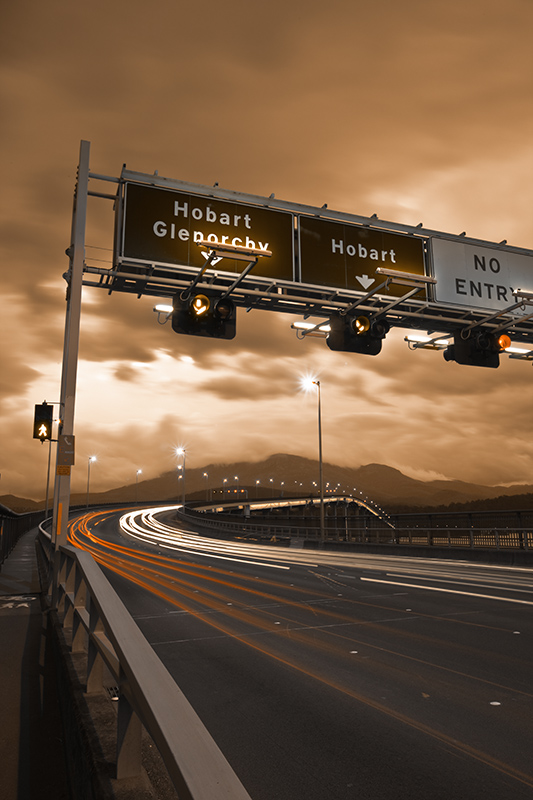
Tasman bridge, Hobart, Tasmania