Most good modern DSLR’s have a good amount of Dynamic Range (DR), DR is the measurement from the brightest to the darkest a sensor can capture in one image, beyond this range highlights will be blown and dark shadows will yield no detail. It is normally measured in Exposue Values (EV). A Good sensor will be at least 12, and maybe as high as 16.
But what do you do if the image you are trying to capture has more DR than my sensor can capture? Well there are a number of ways to deal with this, these are the most common:
- Take multiple exposures to combine into one image, either as a composite merge or a high dynamic range shot (HDR), later models can do HDR in camera.
- Add additional light to the scene.
- Use filtering effects to modify the light being exposed.
 HDR and adding light are fairly common, but using filters is not very common for night sky photography and Aurora’s. The reason it is not popular is that adding filters reduces the amount of light entering the camera, resulting in either having to use higher ISO settings or longer exposures.
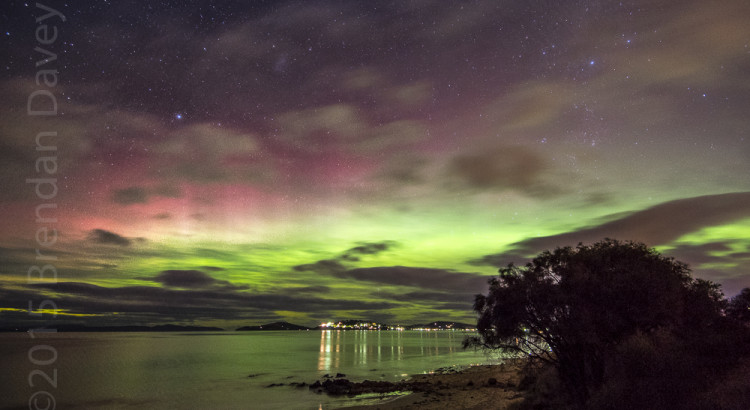
However given the right circumstances using a filter can have great results. I like to use them for shooting Aurora’s provided the Aurora is very bright and it has minimal movement. If the Aurora is bright I don’t need to increase my ISO, and minimal movement like beams in the Aurora will mean I can increase the exposure time a little without blurring any details.
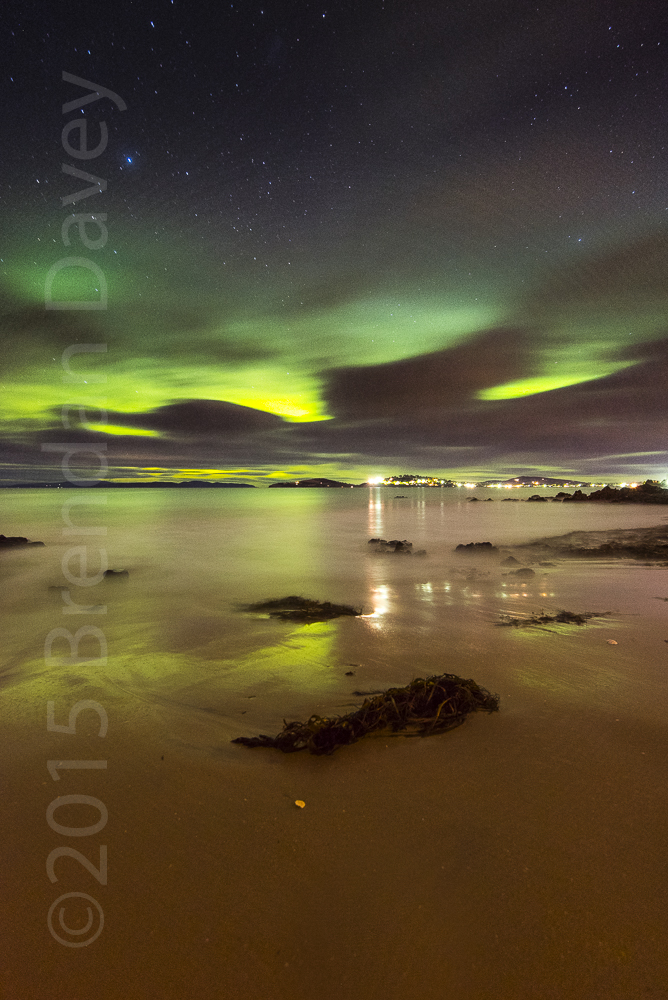
I have found that using a 0.9 (3 stop filter) helps significantly with exposure compensation, balancing out the light Aurora in the sky to darker foregrounds. Not only does it help with the balance and bringing out blacks, but it effectively gives your sensor a 3 stop advantage.
A sensor that can shoot 14 stops of DR is suddenly equivalent to 17.
Suddenly I’m no longer dealing with those horrible black dark areas where the noise hides.