 Shooting the night sky can be one of the most demanding tasks your camera will undertake. It normally involves long exposures, high ISO settings, and having to deal with a variety of lighting challenges, both natural and artificial.
White balance (WB) can not only vary a lot from shot to shot, but also from manufacturer to manufacturer. It’s well known that Nikon for example has a Blue bias, where as Canon has a Yellow/Red bias. What if there a clouds?, reflected city lights?, the Moon?, an Aurora?, the list is almost endless.
Most cameras do a very good job, but rarely nail it, as they are simply not build for these extreme scenario and all it’s complexities. Or maybe the auto WB was not what you had in mind for the shot. So here are a few secrets you can use to help get the WB just the way you like it.
If you don’t use post production editing like Lightroom then you should set the WB on your camera manually. To do this set your WB in Kelvin (K) in your camera settings, most DSLR’s support this. Around 4000K is a good starting point for night shots. A little trial and error either side of 4000K should get you something you are happy with. This is very important if you are shooting JPEG images only.
If you shoot in RAW or plan to do some post editing, then setting the WB on the camera is really only useful for viewing on the camera, and to assist with exposure, since it can be changed during the post process. For this reason I personally just leave it as ‘auto’ on the camera (mainly so I’m ready to shoot next time I pick it up where the light may be different).
If you shoot in RAW there are a number of options available to you during post processing. You can either leave it ‘As Shot’, in which case the software will assume the camera was correct, and not alter it, or you can select ‘Auto’ within the software, where the software will determine the best WB based on the scene, or you can set the WB manually. Each of these options can give a different look. I personally prefer a nice grey sky, so I normally have to manually set the WB.
Settings the White Balance Manually.
 If you use a calibrated monitor and you have a good eye for colour you can set the WB to your liking easily enough in most applications. Again around 4000K is a good starting point, and experimenting from there.
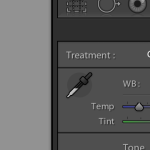
I personally prefer to sample a portion of the image to determine the WB of best fit. In the case of Lightroom the Eye Dropper tool in the ‘Basic’ panel can be used to set WB. The secret to using the Eye Dropper Tool is to try and select an area of the image where it would be a neutral grey, in the case of most night photography this would be anywhere between the stars, I try to select a section from the top left or right of the image, where I am sure it would be close to grey.
 Moving the eye dropper around and viewing the preview panel will give you an idea of the final result. A little trial and error may be required.
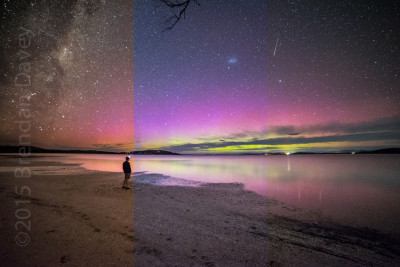
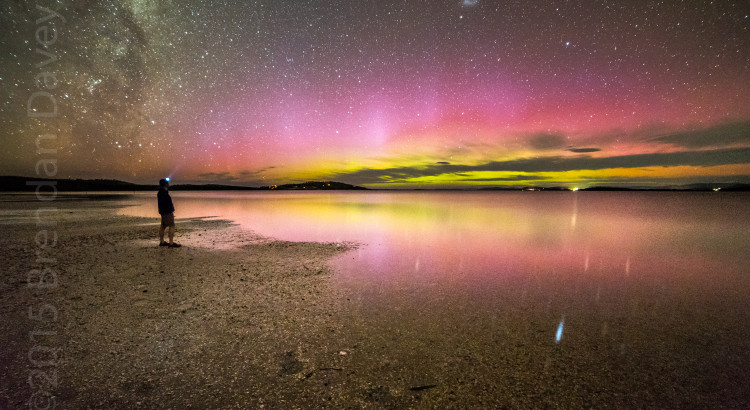
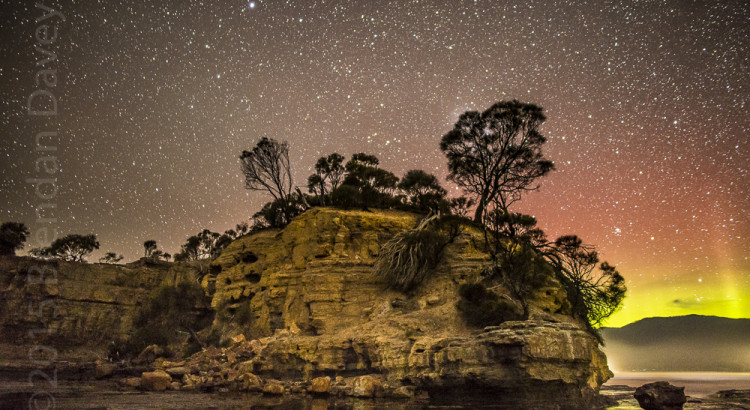
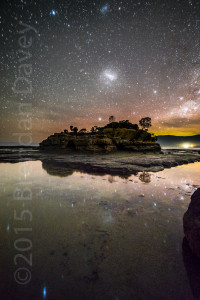
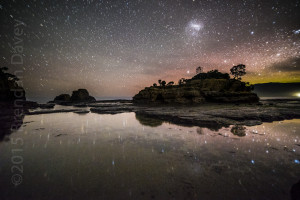
Below is an example showing the bias from each method. Left to right we see Manual WB, notice the neutral grey Sky and stars. In the middle we have ‘As Shot’, in this case ‘auto’ WB set on the Camera (D750), note the blue sky, and to the right we have a WB somewhere in-between where the lightroom ‘Auto’ settings has slightly corrected the camera’s Auto WB.

And remember WB is subjective, so there is no perfect setting, some prefer the Blue sky. 🙂
 ures of the car, and of course, shot in a way that enhances the cars features.